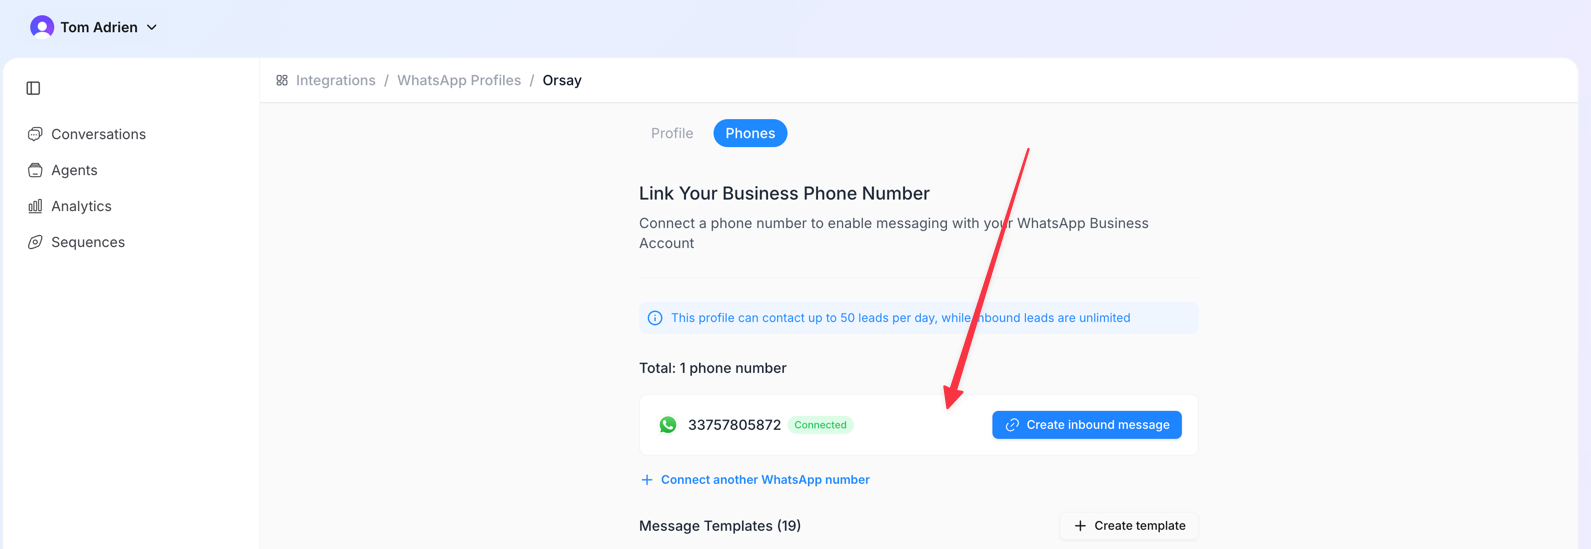
You have two options: create a brand-new WhatsApp Business account from scratch, or connect an existing WhatsApp Business app you already use.
Option A — Create a new WhatsApp Business account
1
Open Integrations → WhatsApp
In the sidebar, click Integrations → WhatsApp.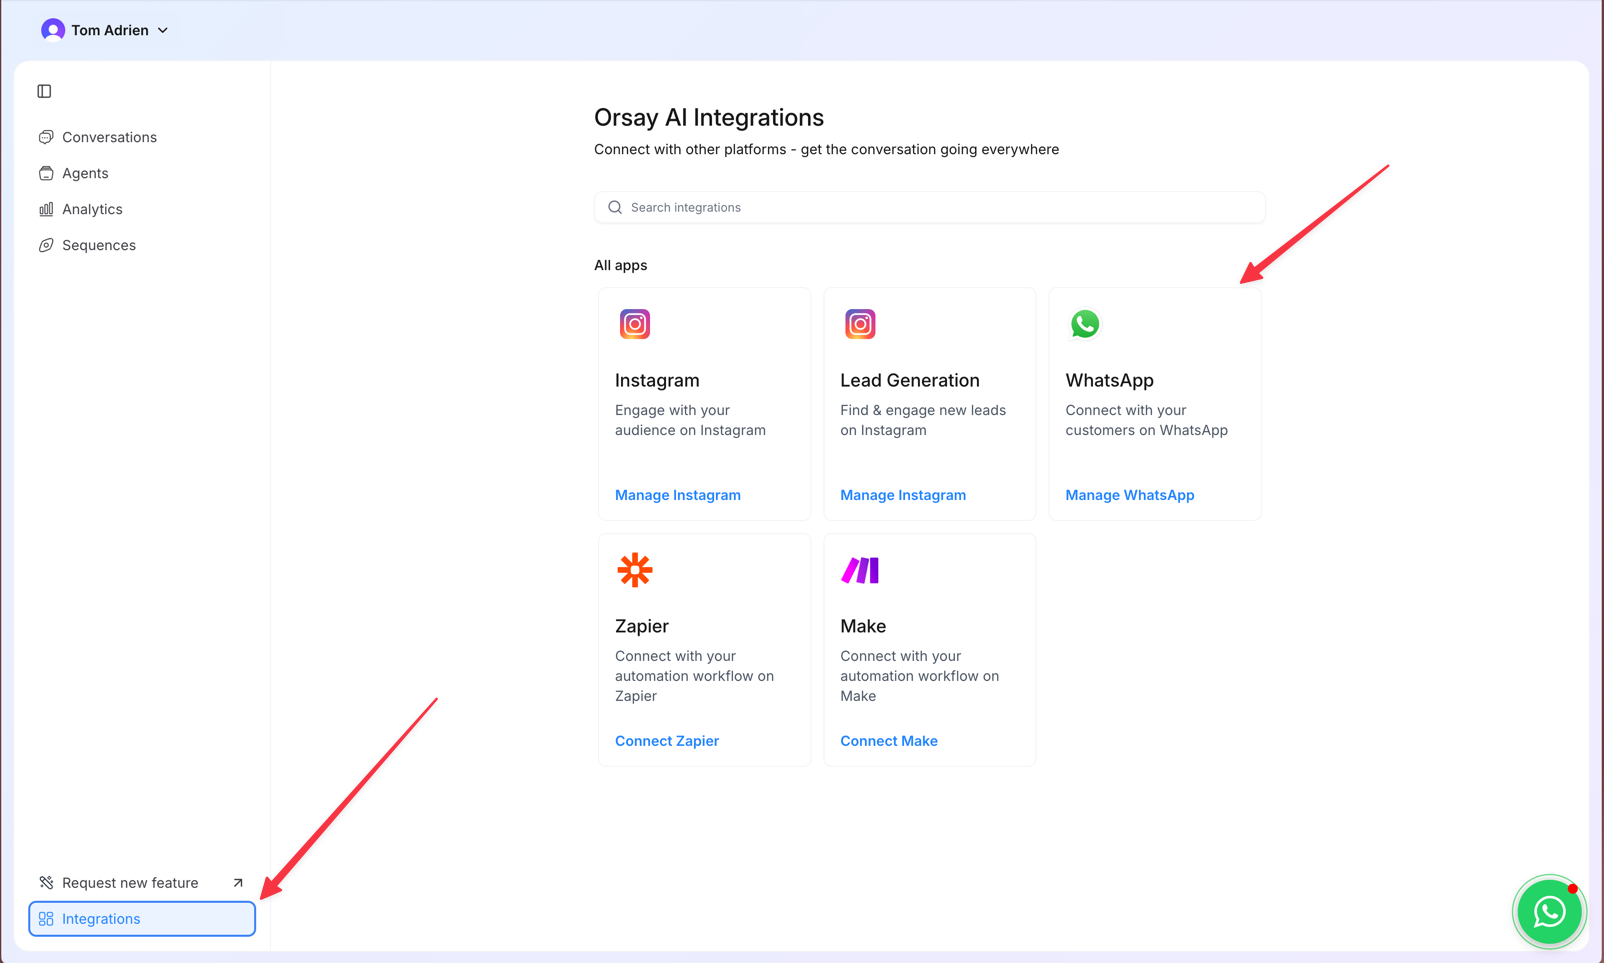
2
Create a profile
Add a name and profile picture, then click Connect a new WhatsApp number.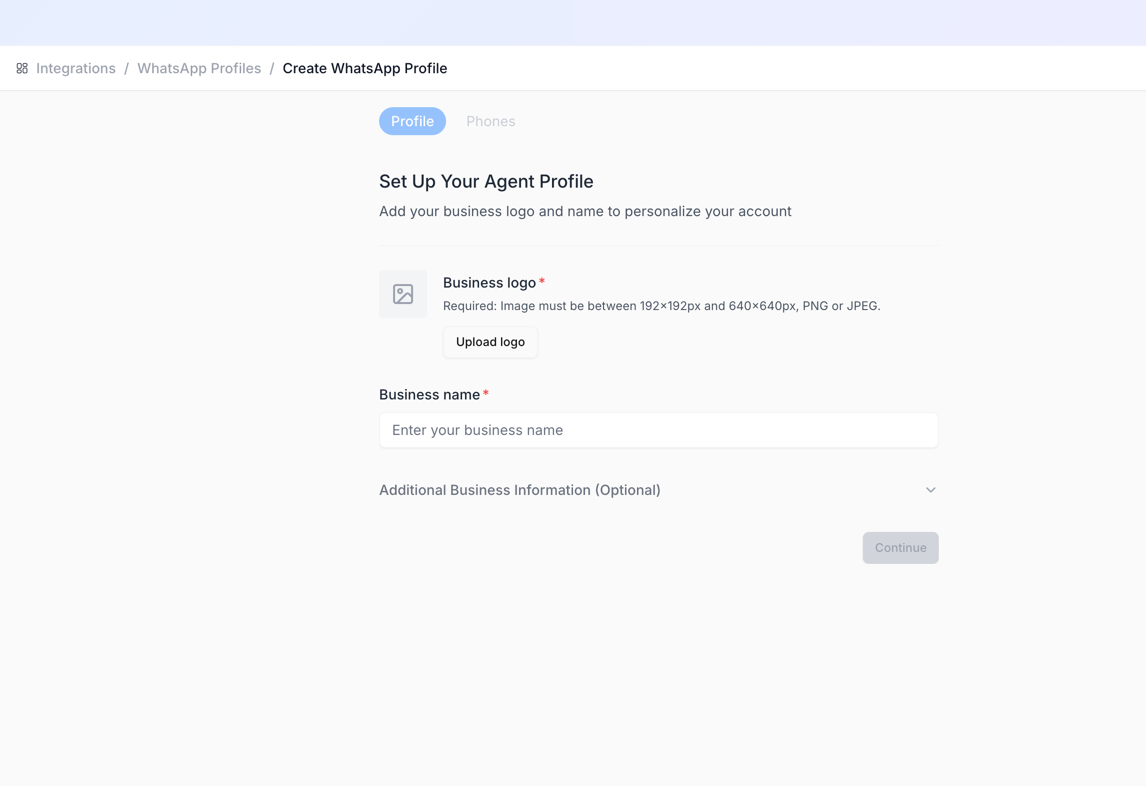
3
Approve in Facebook Business Manager
You’re redirected to Facebook. Approve the initial dialogs, then select your Business Manager.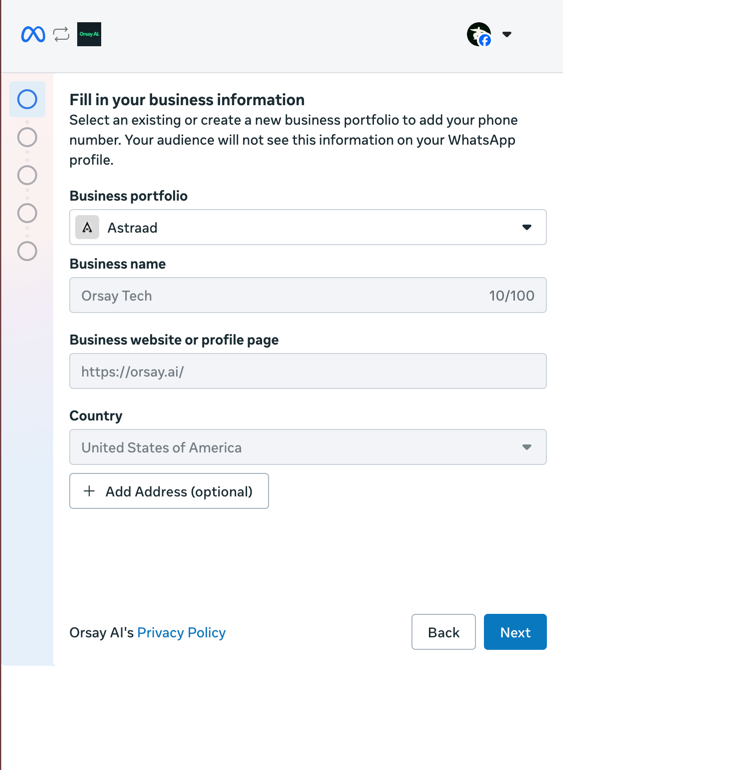
4
Create a WhatsApp Business Account
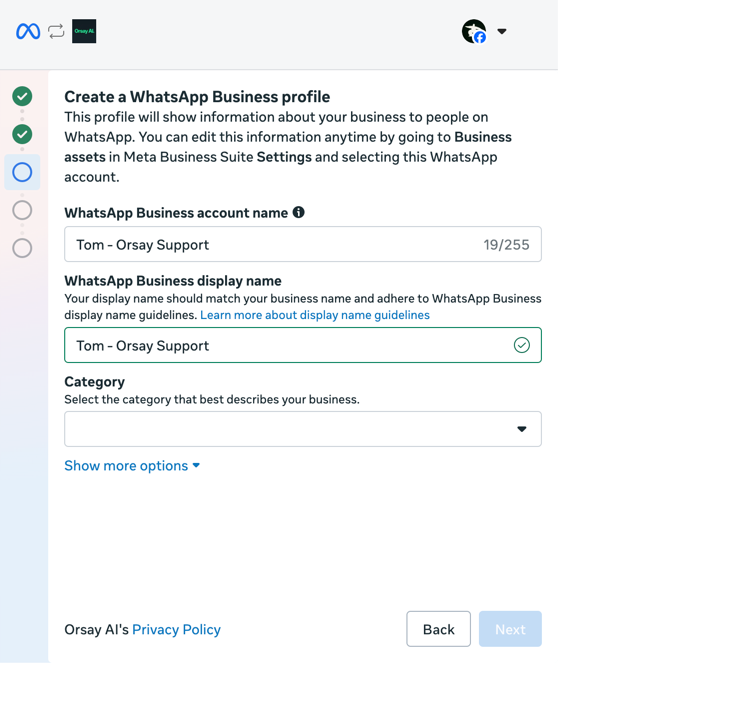
Click Create a new WhatsApp Business Account. Use a name in the format “Name - Your Company” (Meta requires this for approval).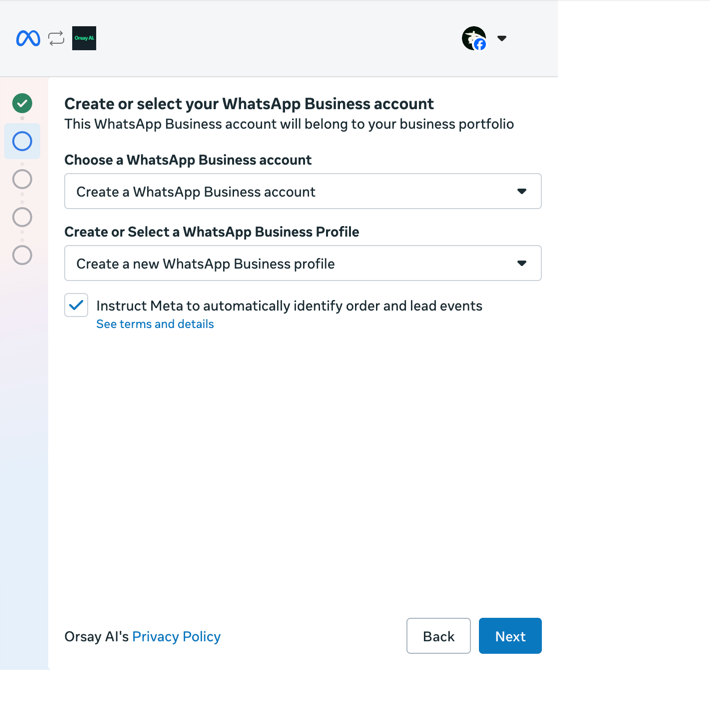
5
Add a phone number
Add a phone number that is not currently linked to any WhatsApp account. We recommend On Off Business to get a clean number quickly. Validate with the 2FA code sent to that number.
Option B — Connect an existing WhatsApp Business
1
Start the same flow
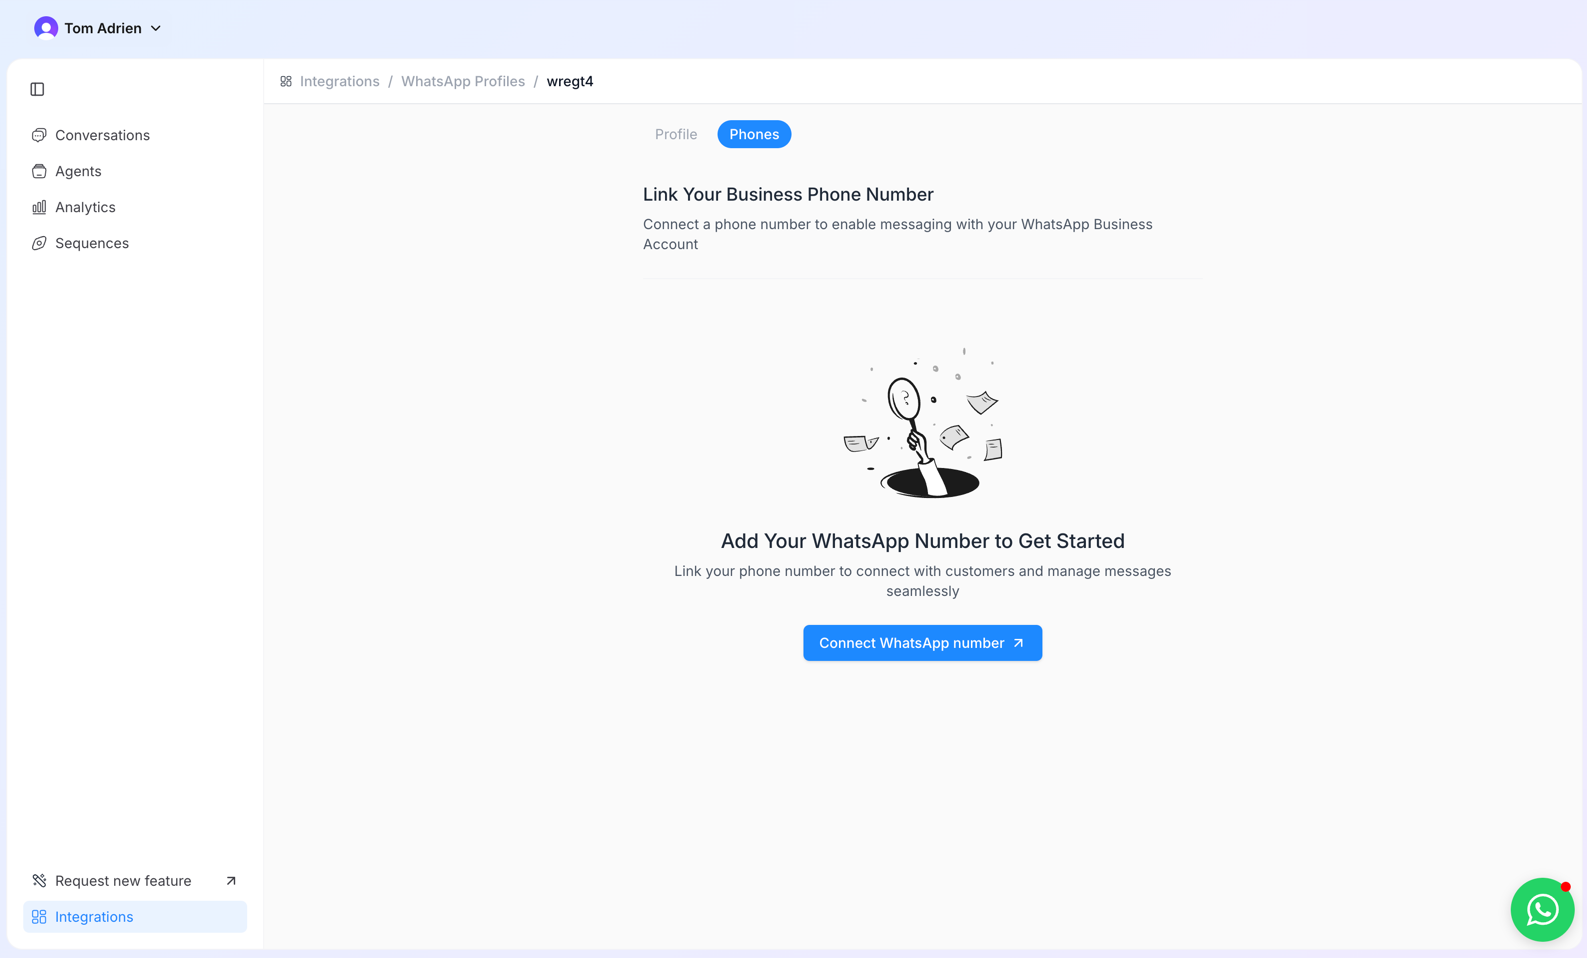
Go to Integrations → WhatsApp → create a profile and click Connect WhatsApp number.
2
Pick existing app in Facebook
In the Facebook flow, choose Connect with existing WhatsApp Business App.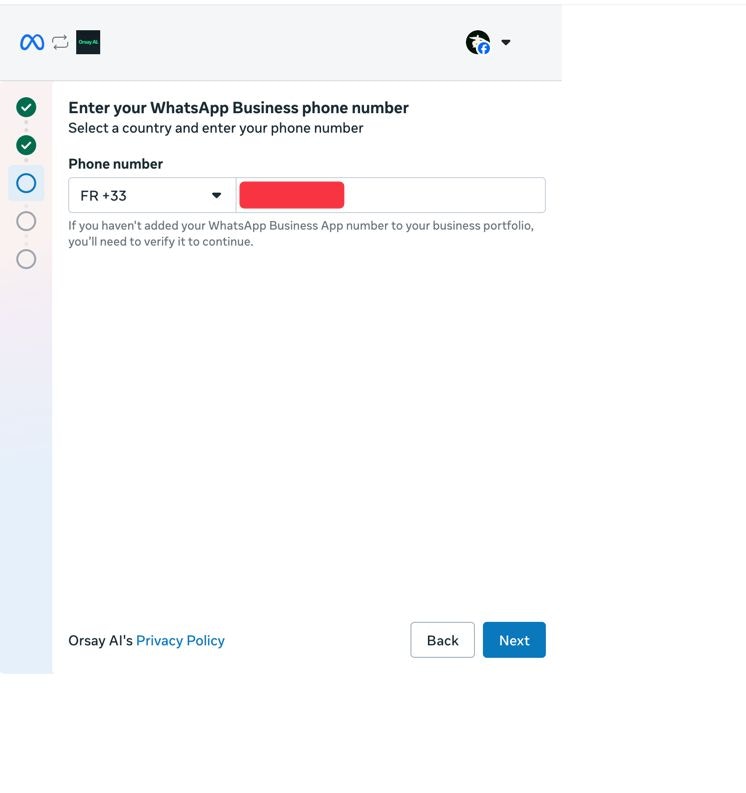
3
Scan and validate
Enter your phone number, scan the QR code, and validate with the 2FA code.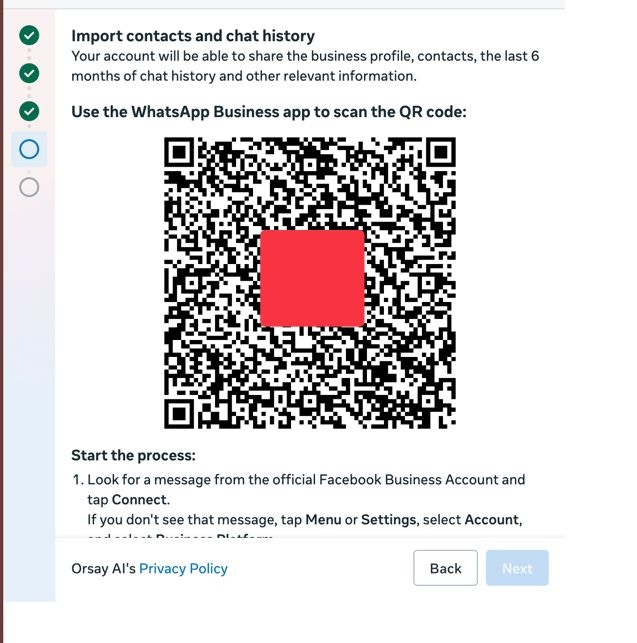
Validate the phone number for sending
Before you can send messages, Meta requires a payment method on the WhatsApp Business Account.1
Add a payment method
Go to business.facebook.com/billing_hub, select the right business, open WhatsApp, and add a card.
2
Send a TEST message
Click the TEST button, input your personal WhatsApp, and click SEND. If you receive the message, your account is fully ready.