Step 1 — Connect your WhatsApp account
Two ways to connect WhatsApp: You can either create a new WhatsApp Business account or connect your own existing one.
Option A: Create a new WhatsApp Business account
Option A: Create a new WhatsApp Business account
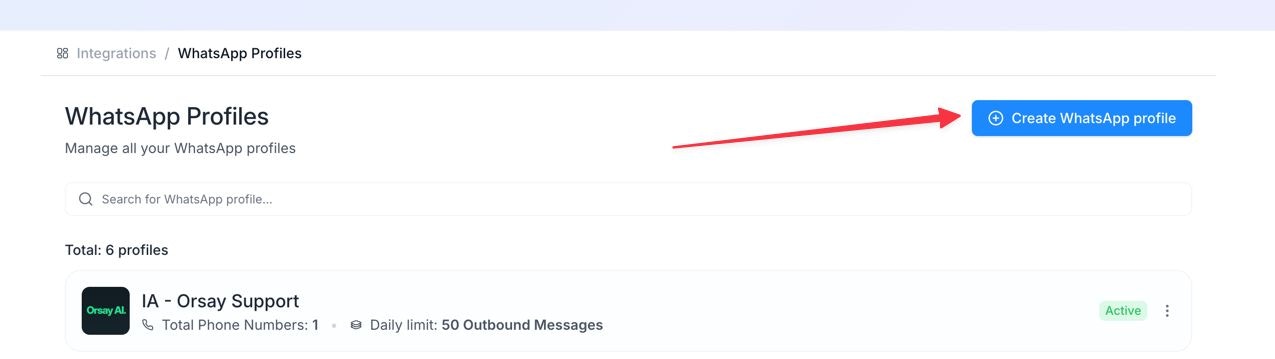
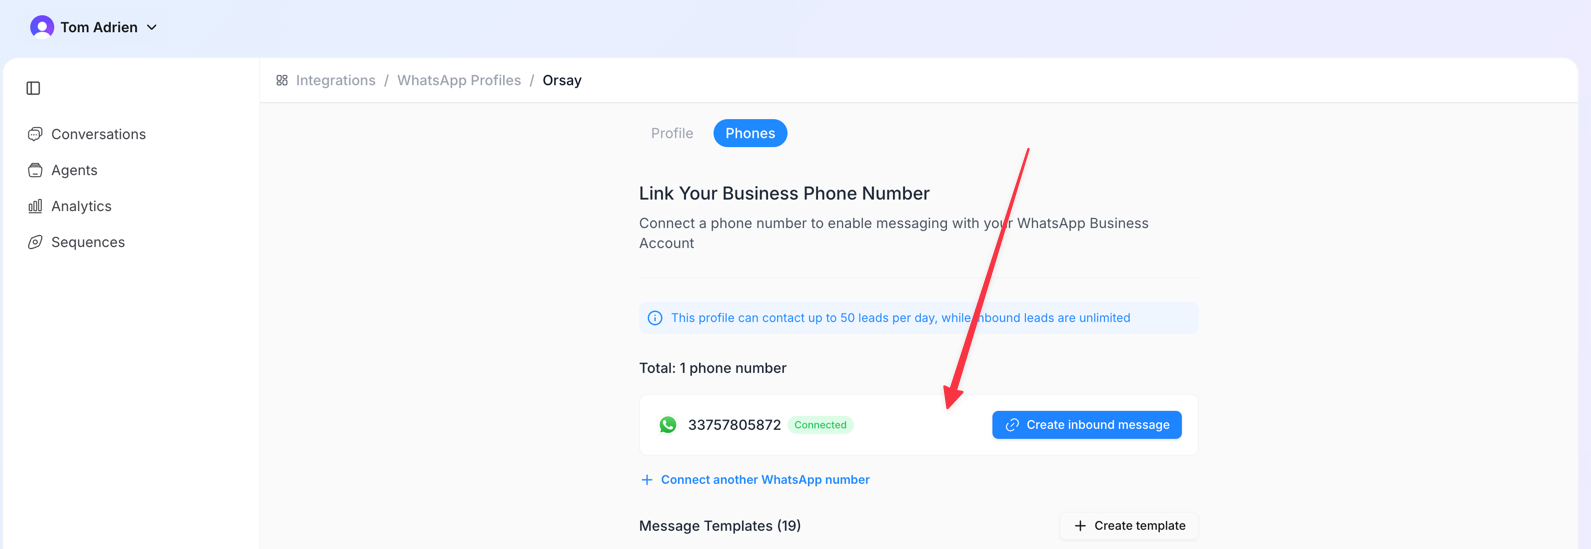
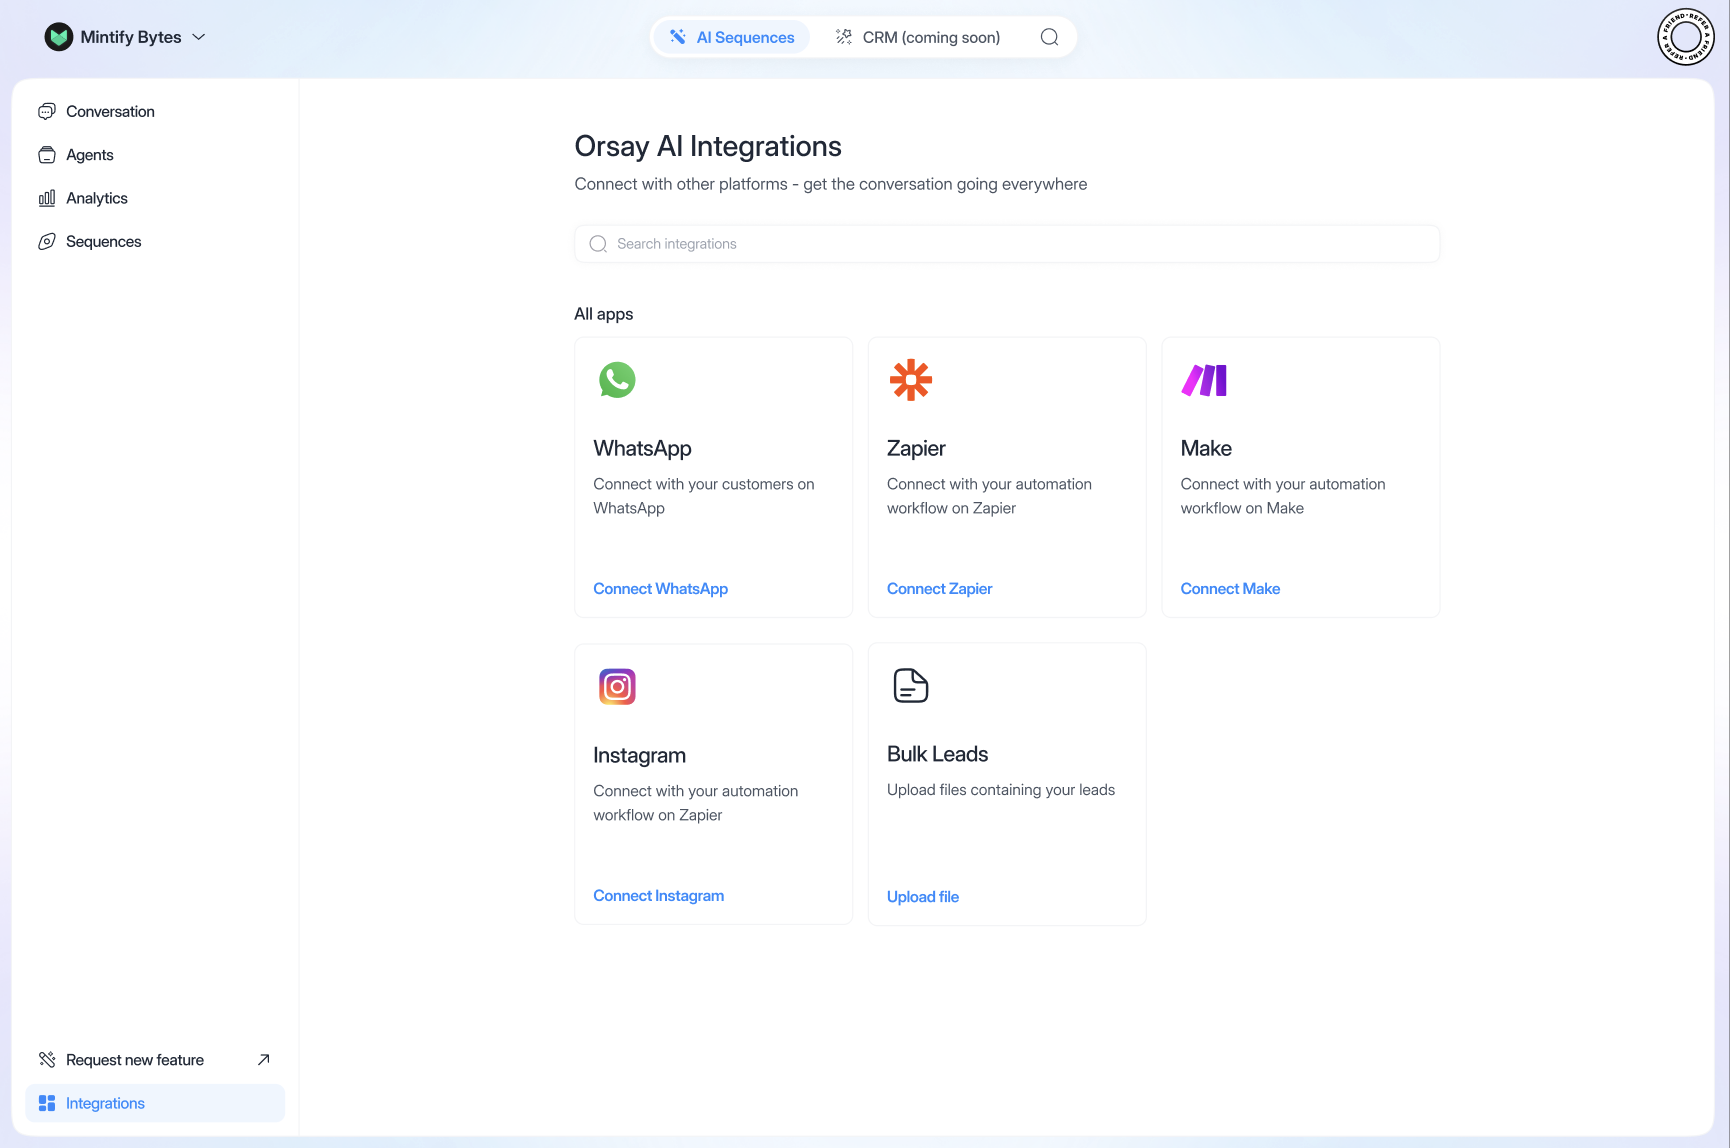
- Go to Integrations → WhatsApp
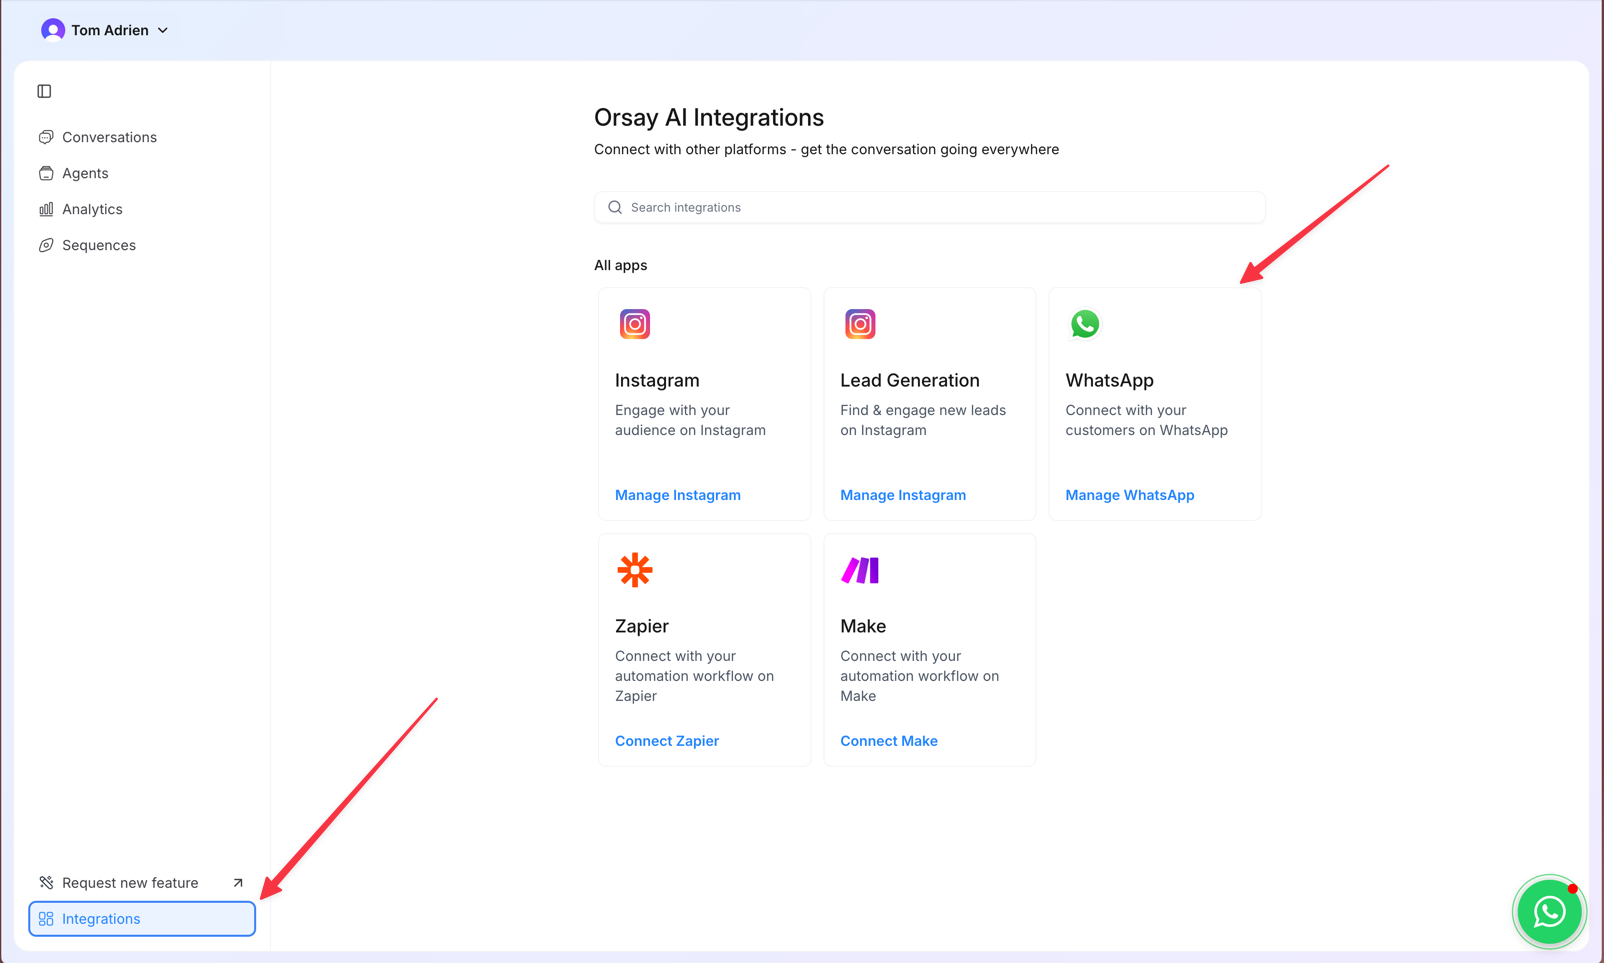
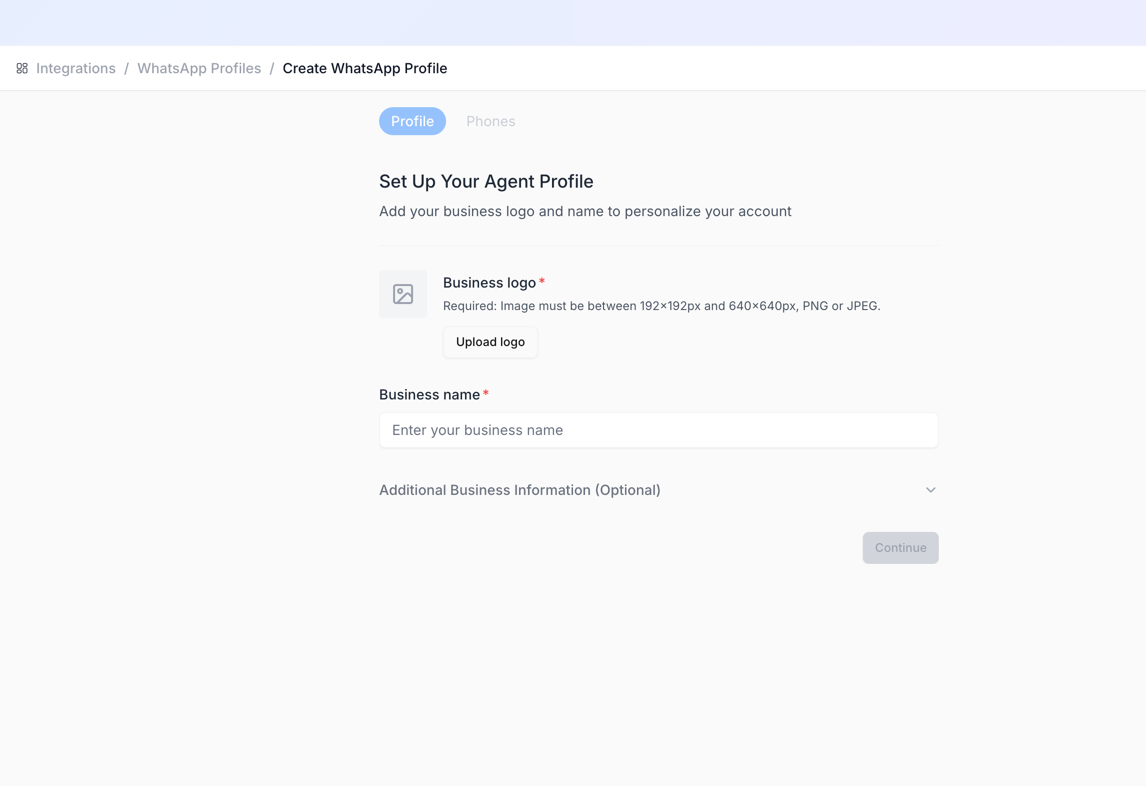
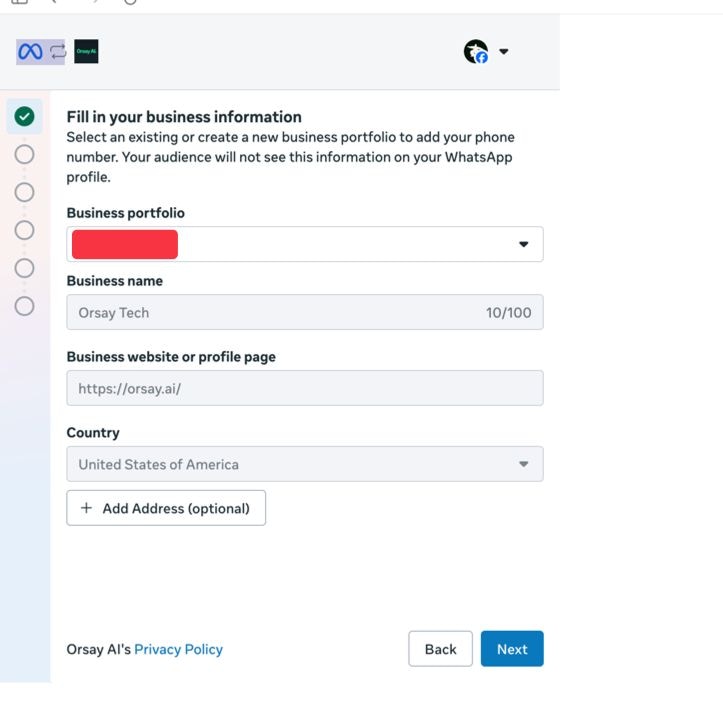
- Create a new profile (add a name + profile picture)
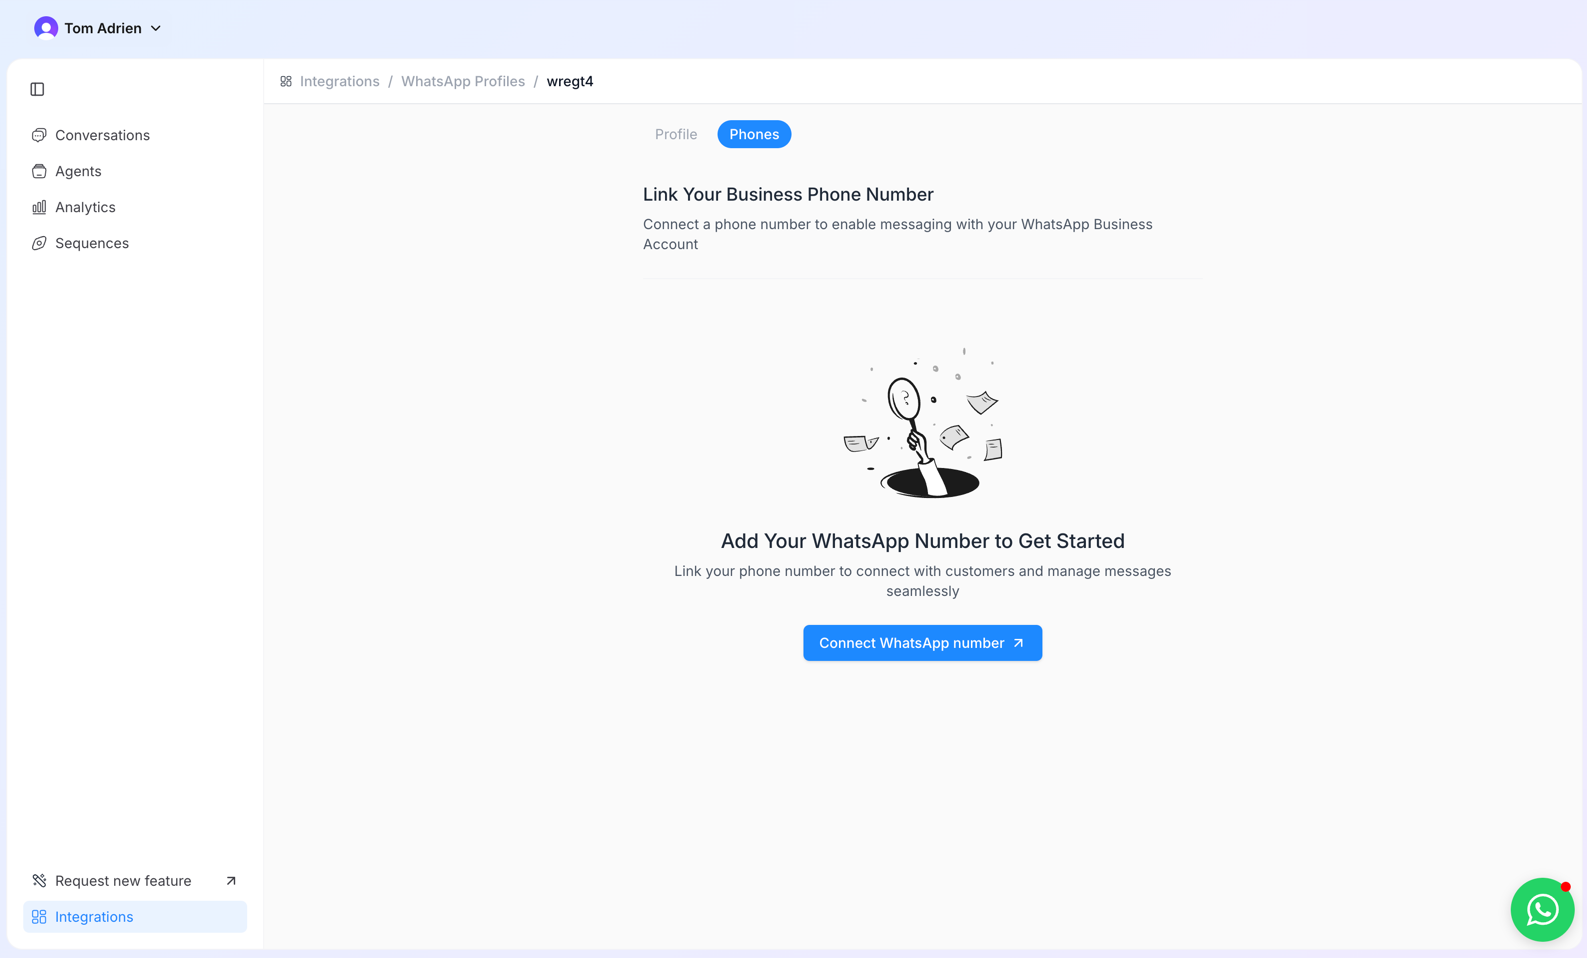
- Click Connect a new WhatsApp number
- You will be redirected to Facebook — approve the first pages, then select your Business Manager
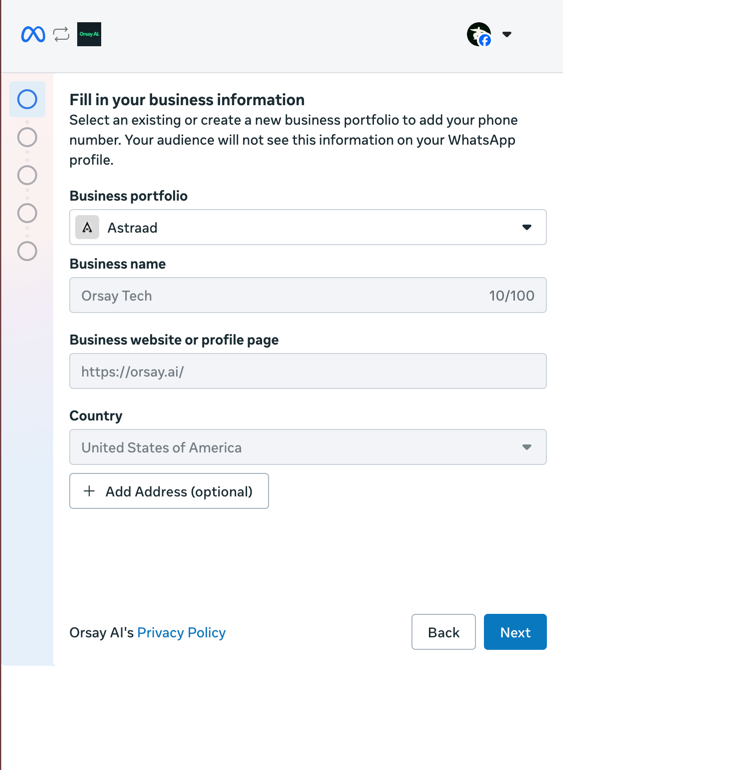
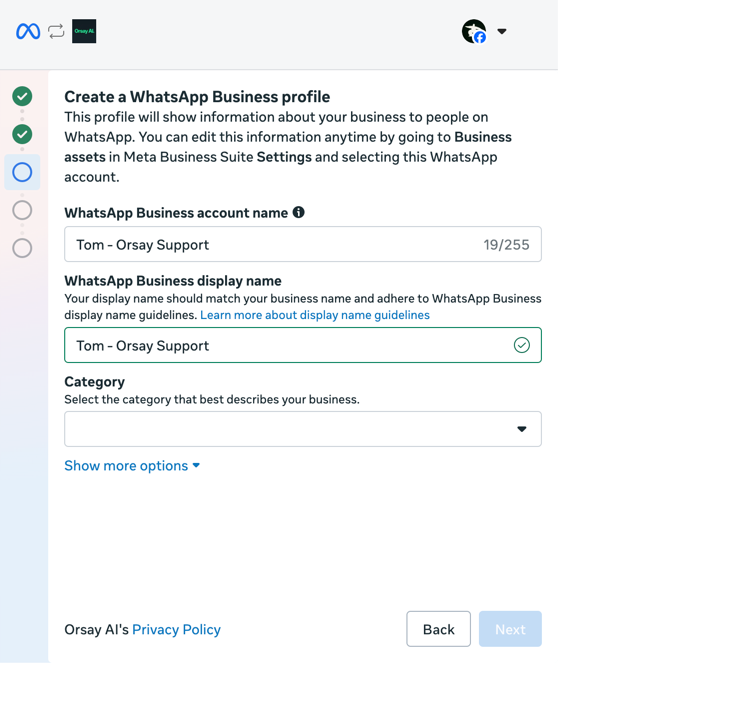
- Create a new WhatsApp Business Account
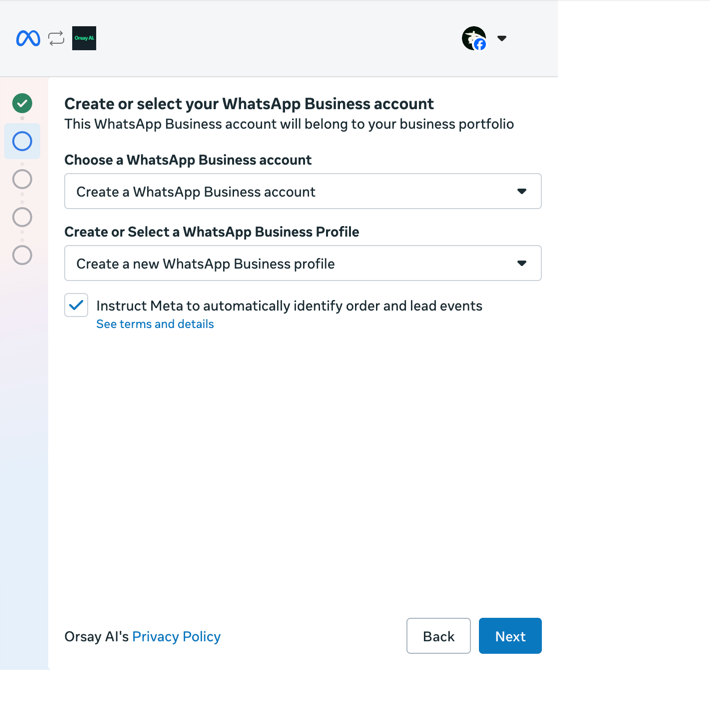
- Create a name in the format: “Name - Your Company”
- Add a phone number (not connected to any WhatsApp yet — we recommend On Off Business to get a number easily)
- Validate the phone number with a 2FA code
Option B: Connect your existing WhatsApp Business
Option B: Connect your existing WhatsApp Business
- Go to Integrations → WhatsApp
- Create a new profile (add a name + profile picture)
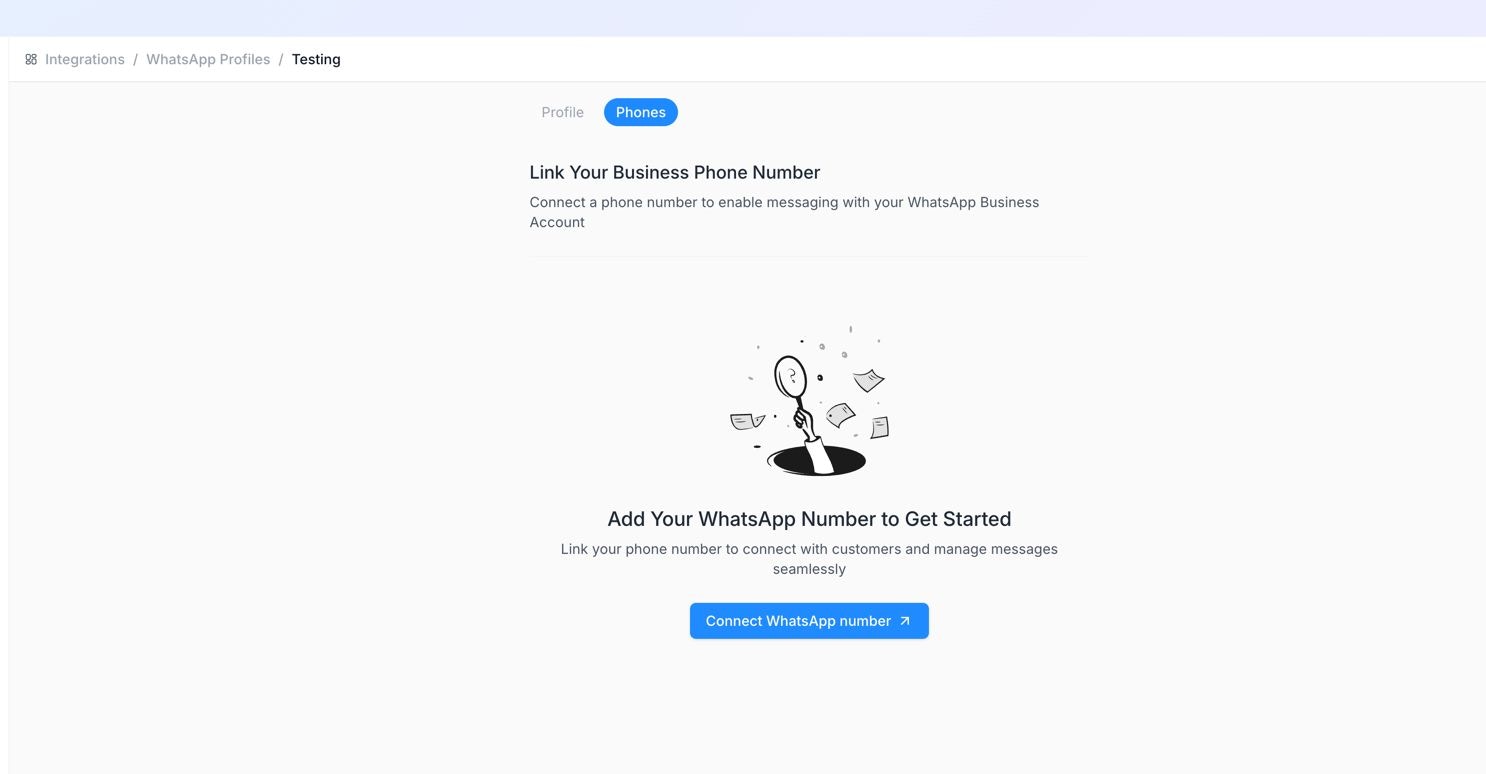
- Click “Connect WhatsApp number”
- You will be redirected to Facebook — approve the initial pages, then select your Business Manager
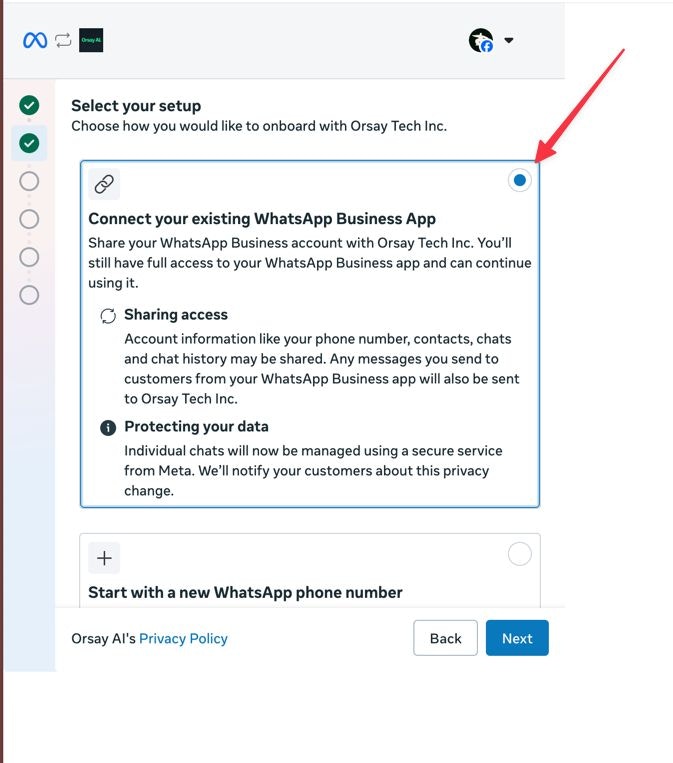
- Select “Connect with existing WhatsApp Business App”
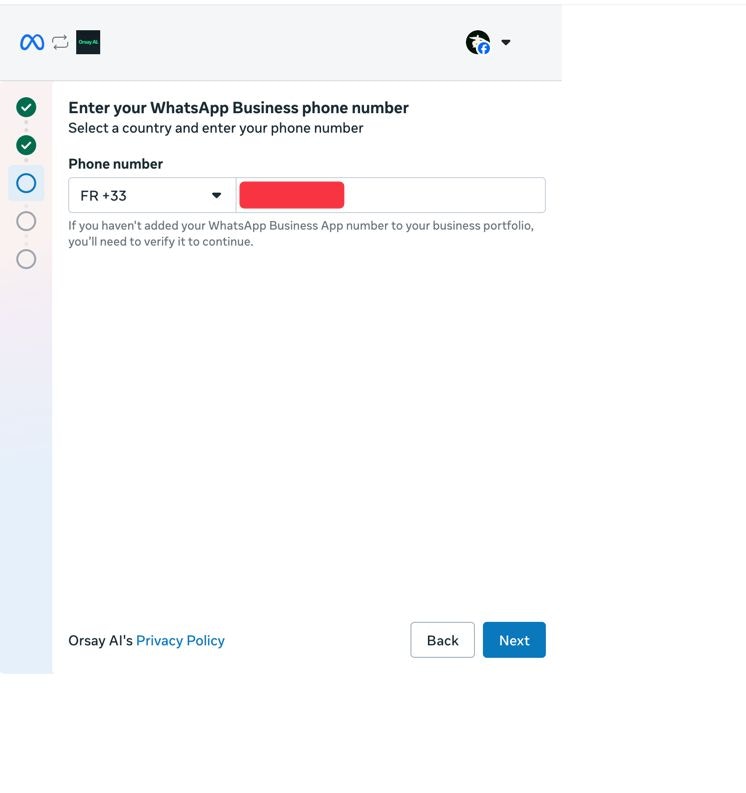
- Enter your phone number
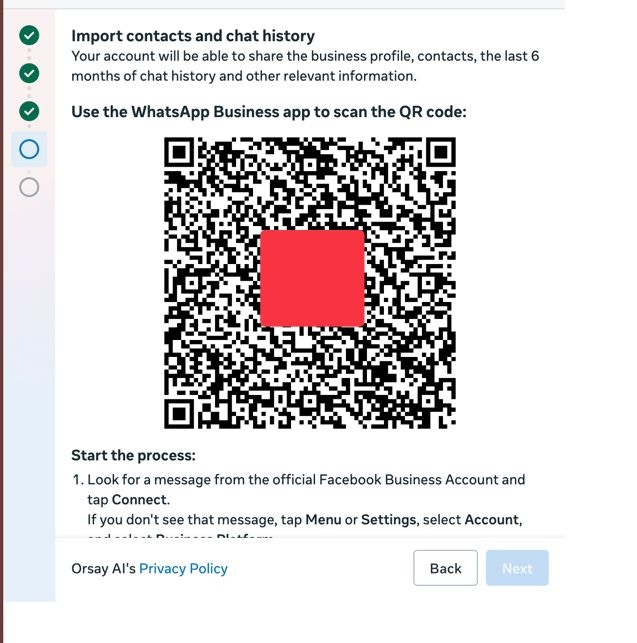
- Scan the QR code
- Validate with a 2FA code and confirm
Validate the phone number
Validate the phone number
- Go to https://business.facebook.com/billing_hub
- Select the business you just added a phone number to → go to WhatsApp and add a payment method

- Click the “TEST” button to validate your phone number — input your personal WhatsApp and click SEND. If you receive a message, you’re all set.
Step 2 — Create a template message
Before creating your sequence, you need a template message — this is the first message sent to your leads on WhatsApp.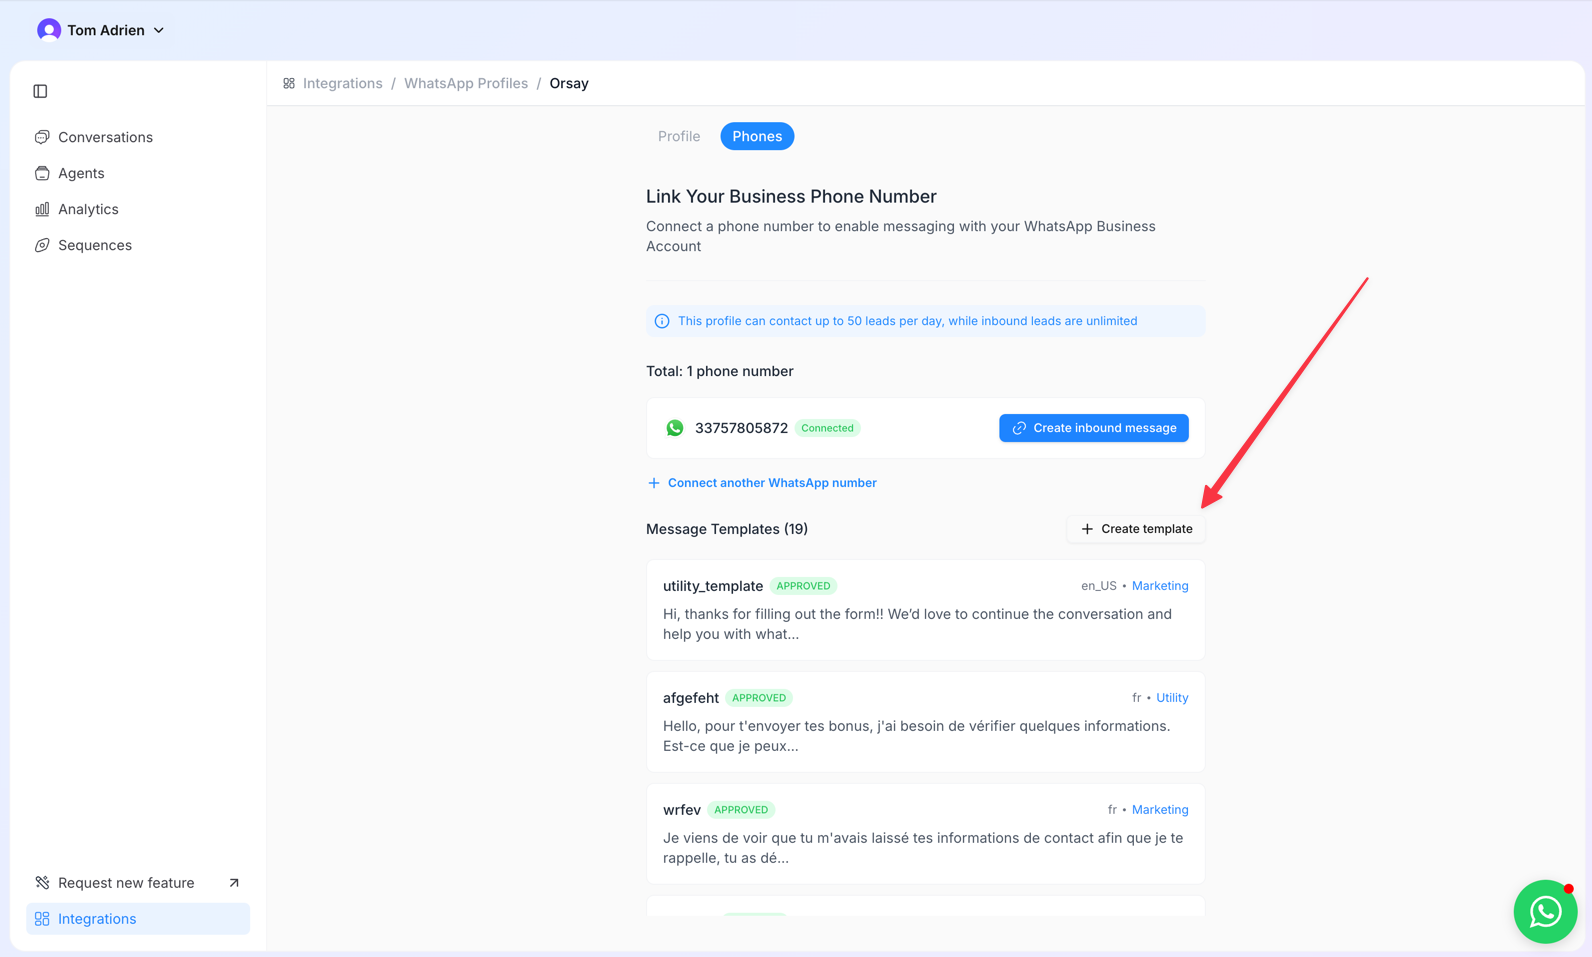
Step 3 — Create your AI agent
You need an AI agent that will handle conversations with your leads once they respond. See how to create an AI agentStep 4 — Create a sequence
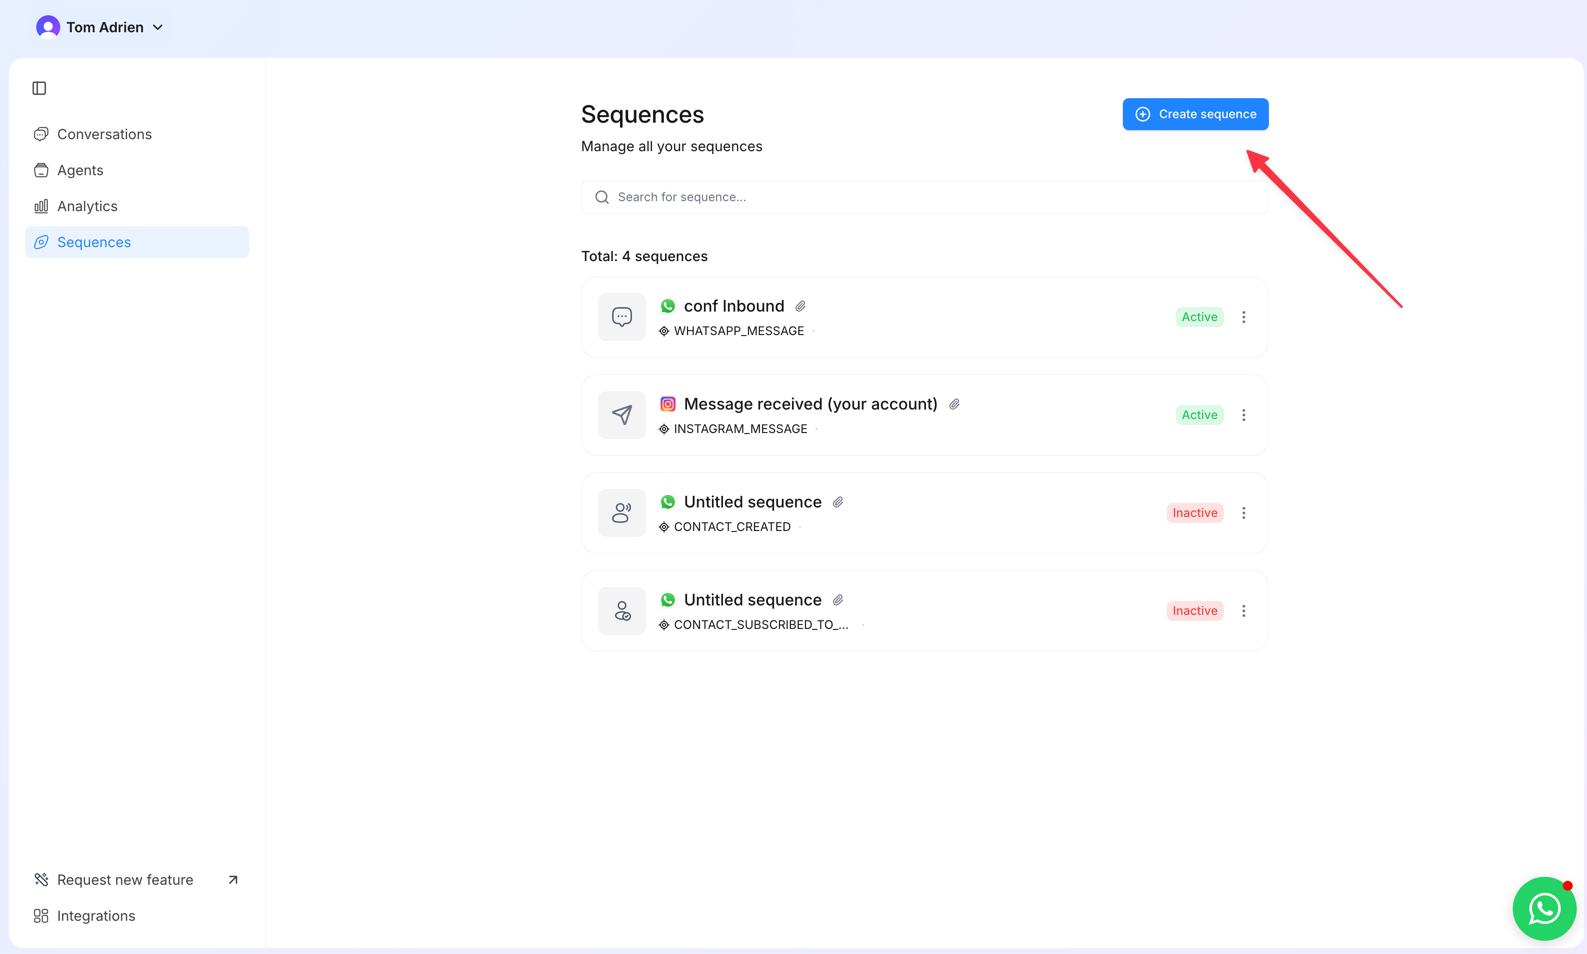
- Go to Sequences and click Create Sequence
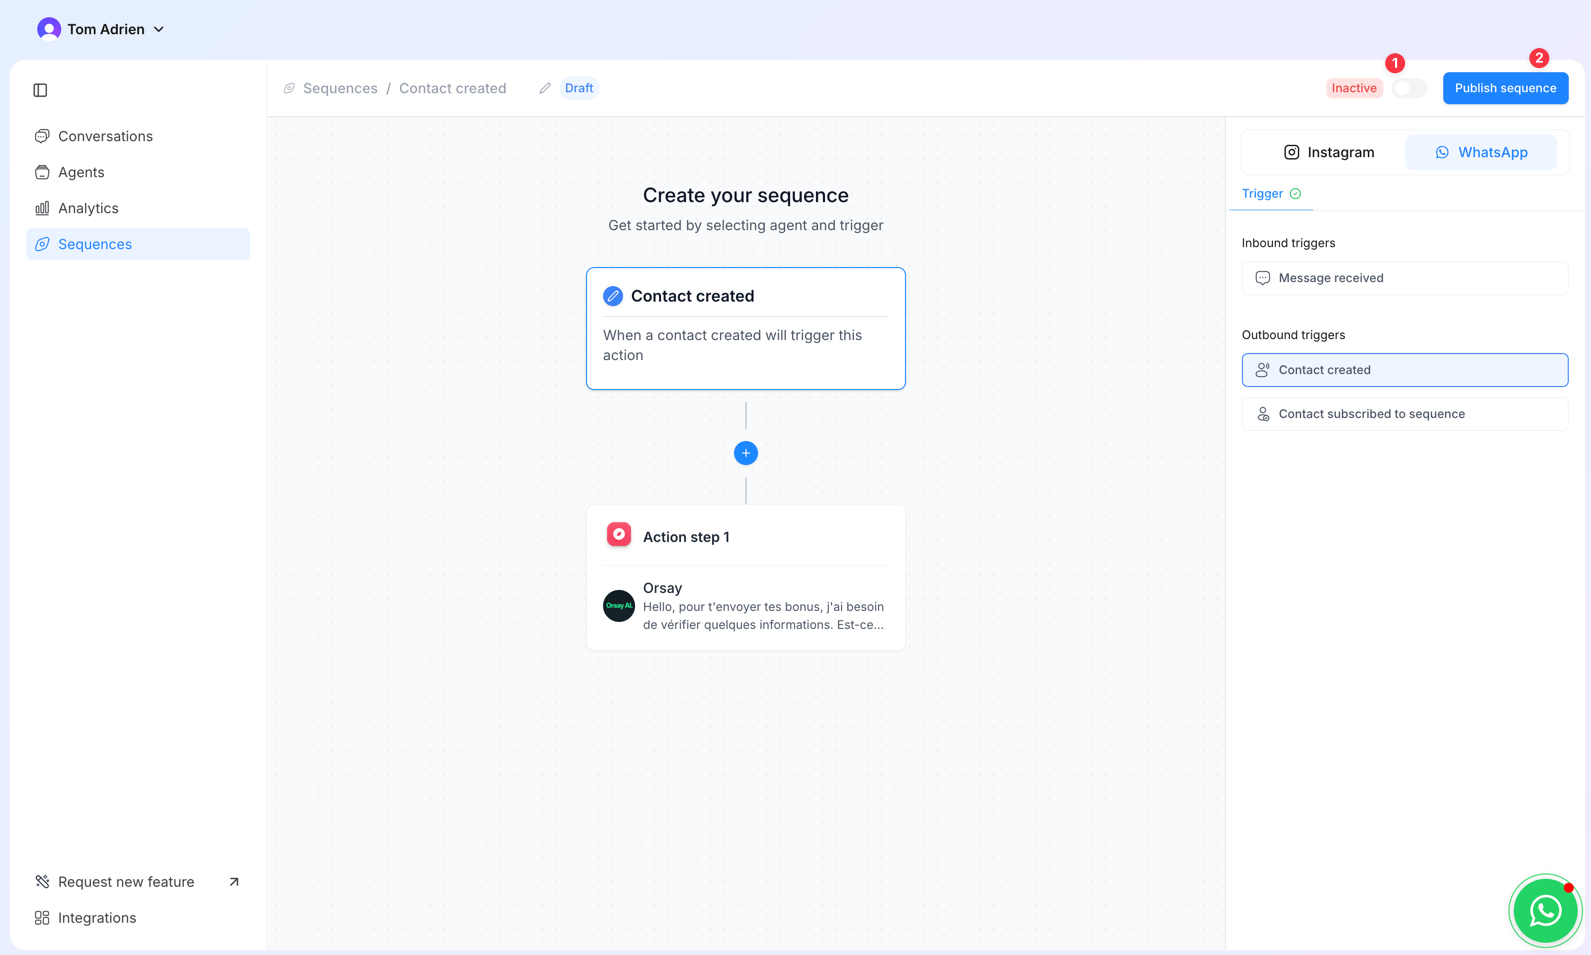
- Select WhatsApp
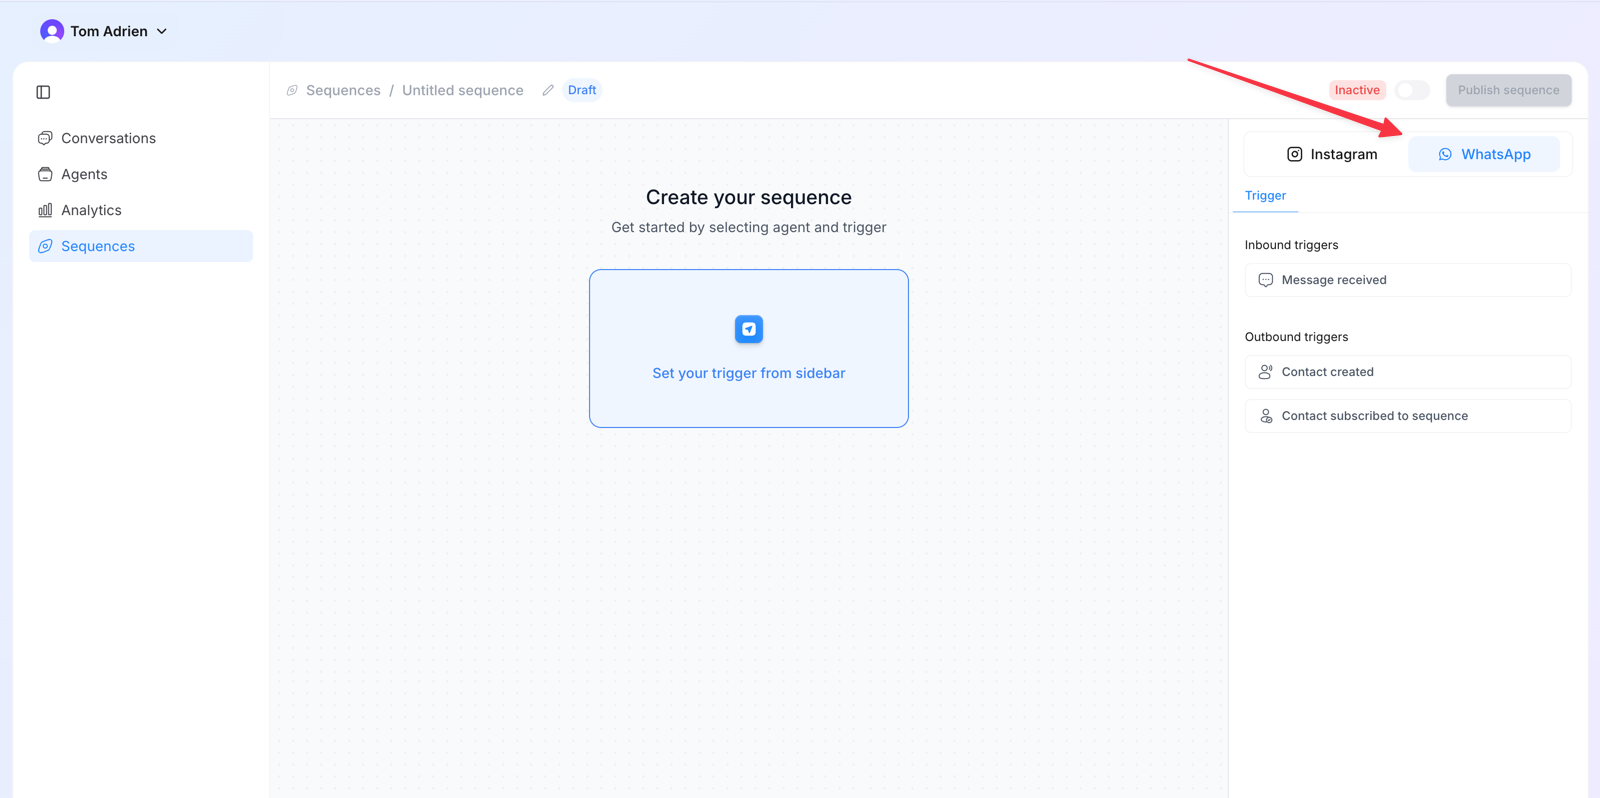
- Choose a trigger type:
| Trigger | When it fires |
|---|---|
| Message received | Each time a new lead sends a message to your number |
| Contact created | For any new lead not already assigned to another sequence |
| Contact subscribed to sequence | For leads specifically assigned to this sequence (used with CSV imports & Zapier) |
- Click ”+” to add a new step

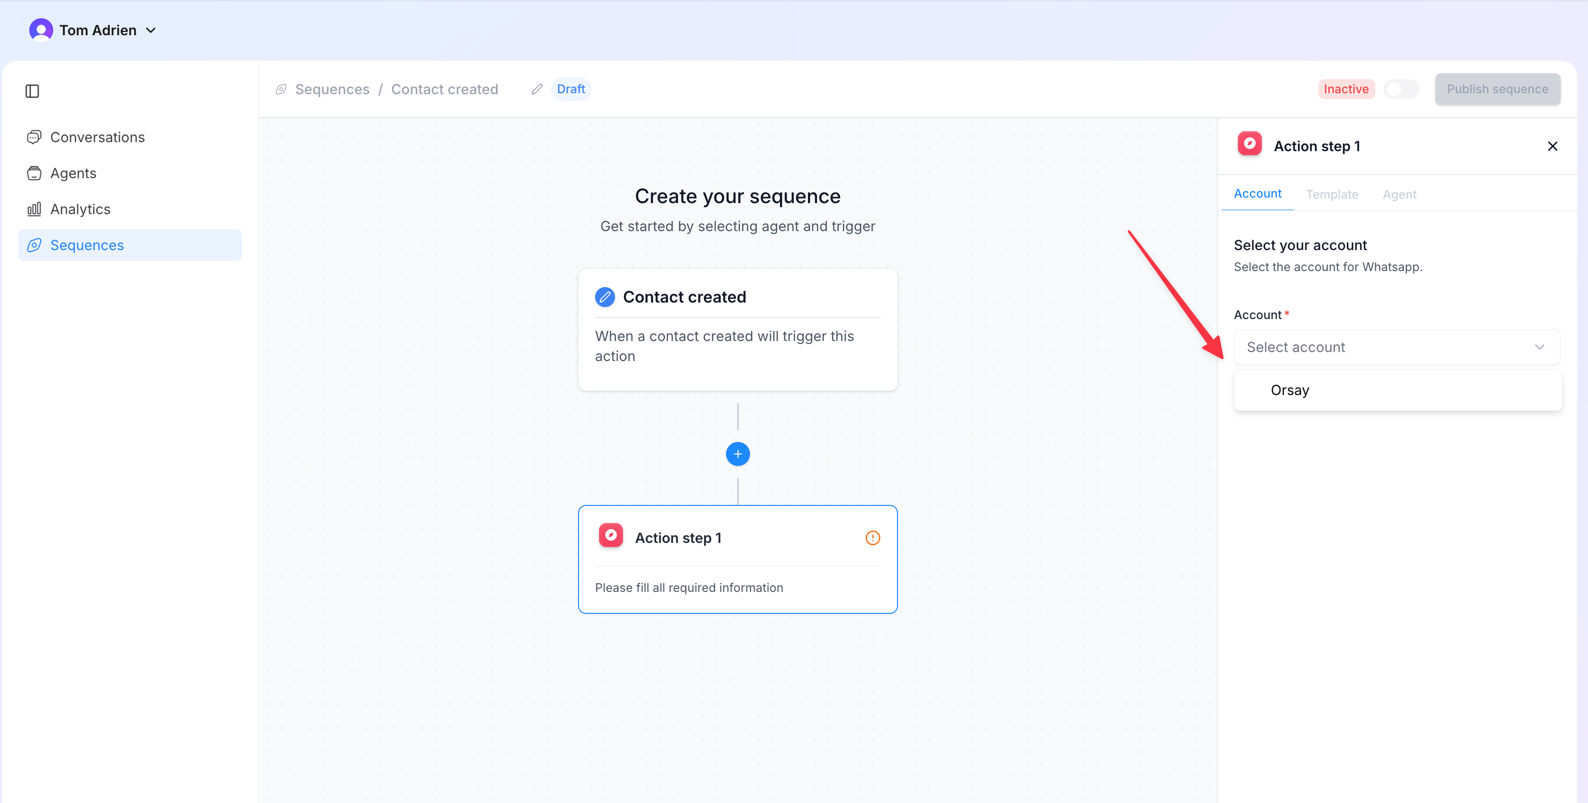
- Select your WhatsApp account
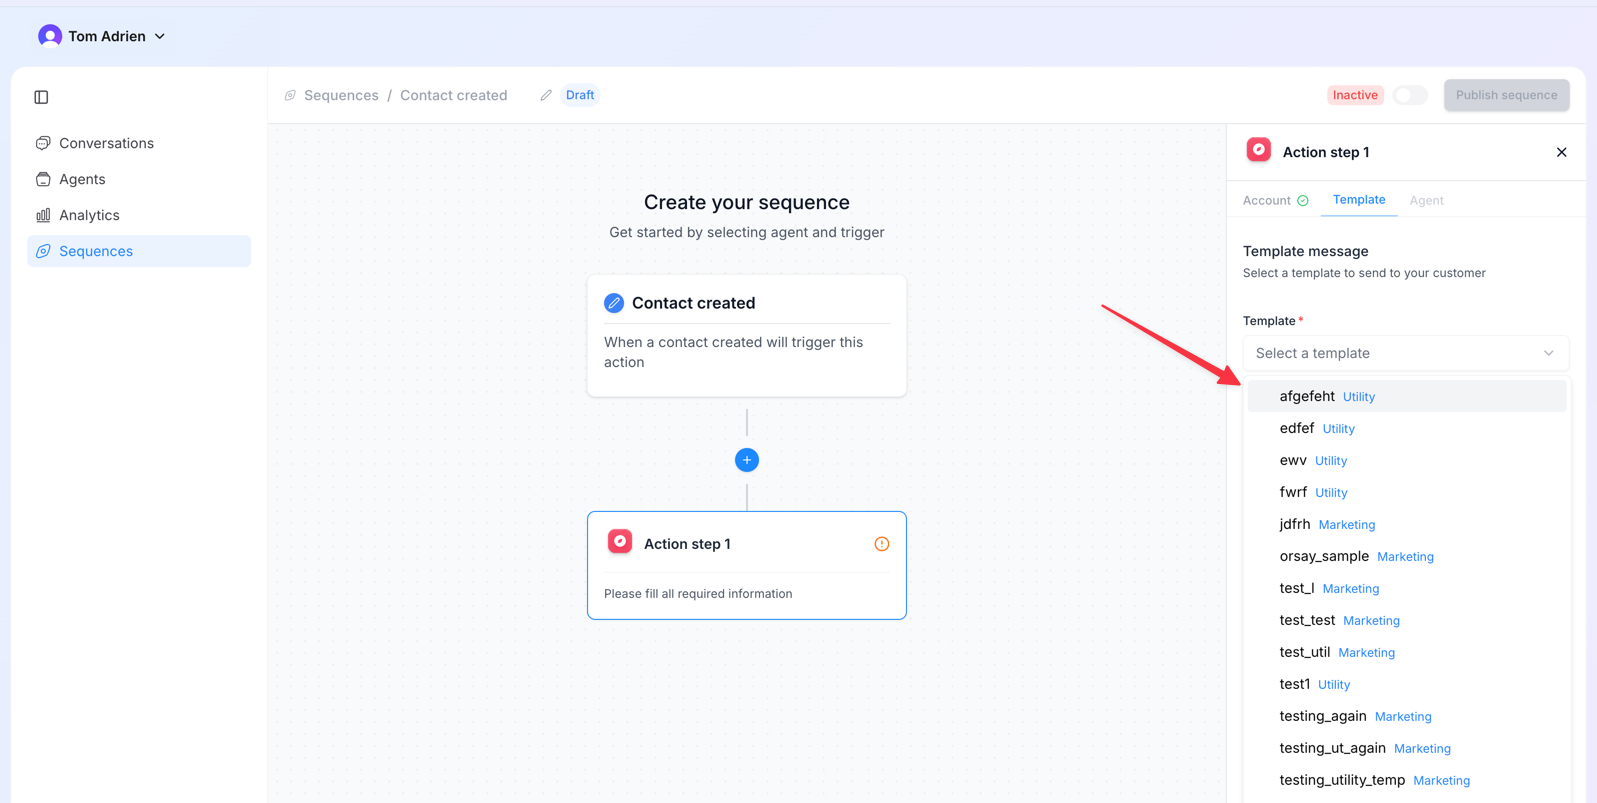
- Select your template message
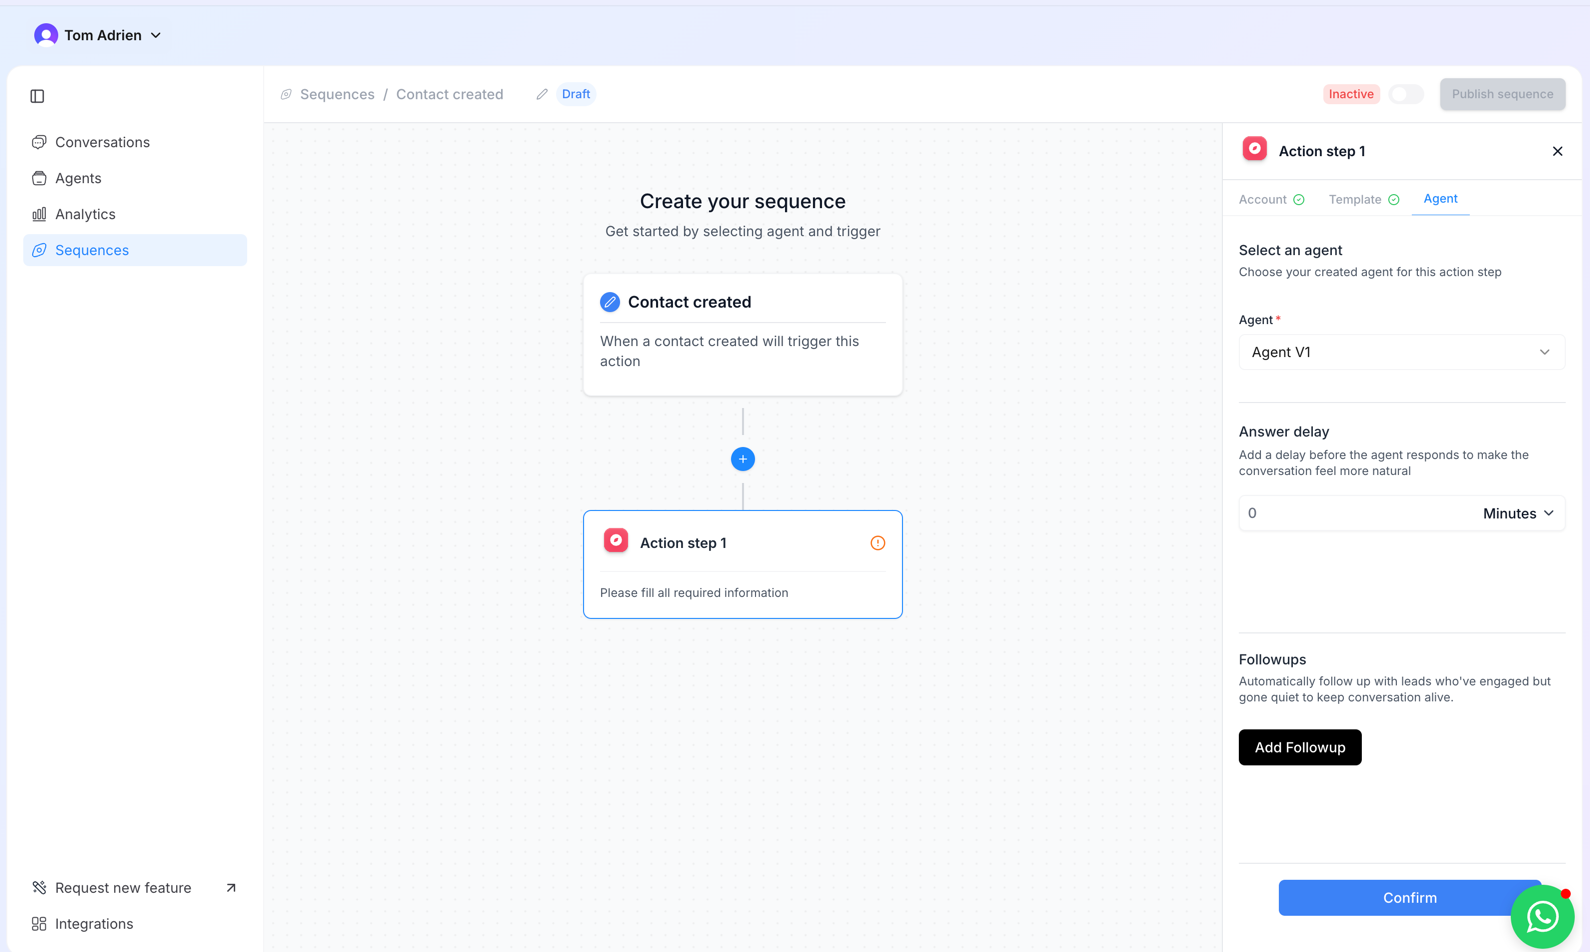
- Select the Agent, set Response Delay, add follow-ups if needed, then click Confirm
- Toggle on the sequence and publish it
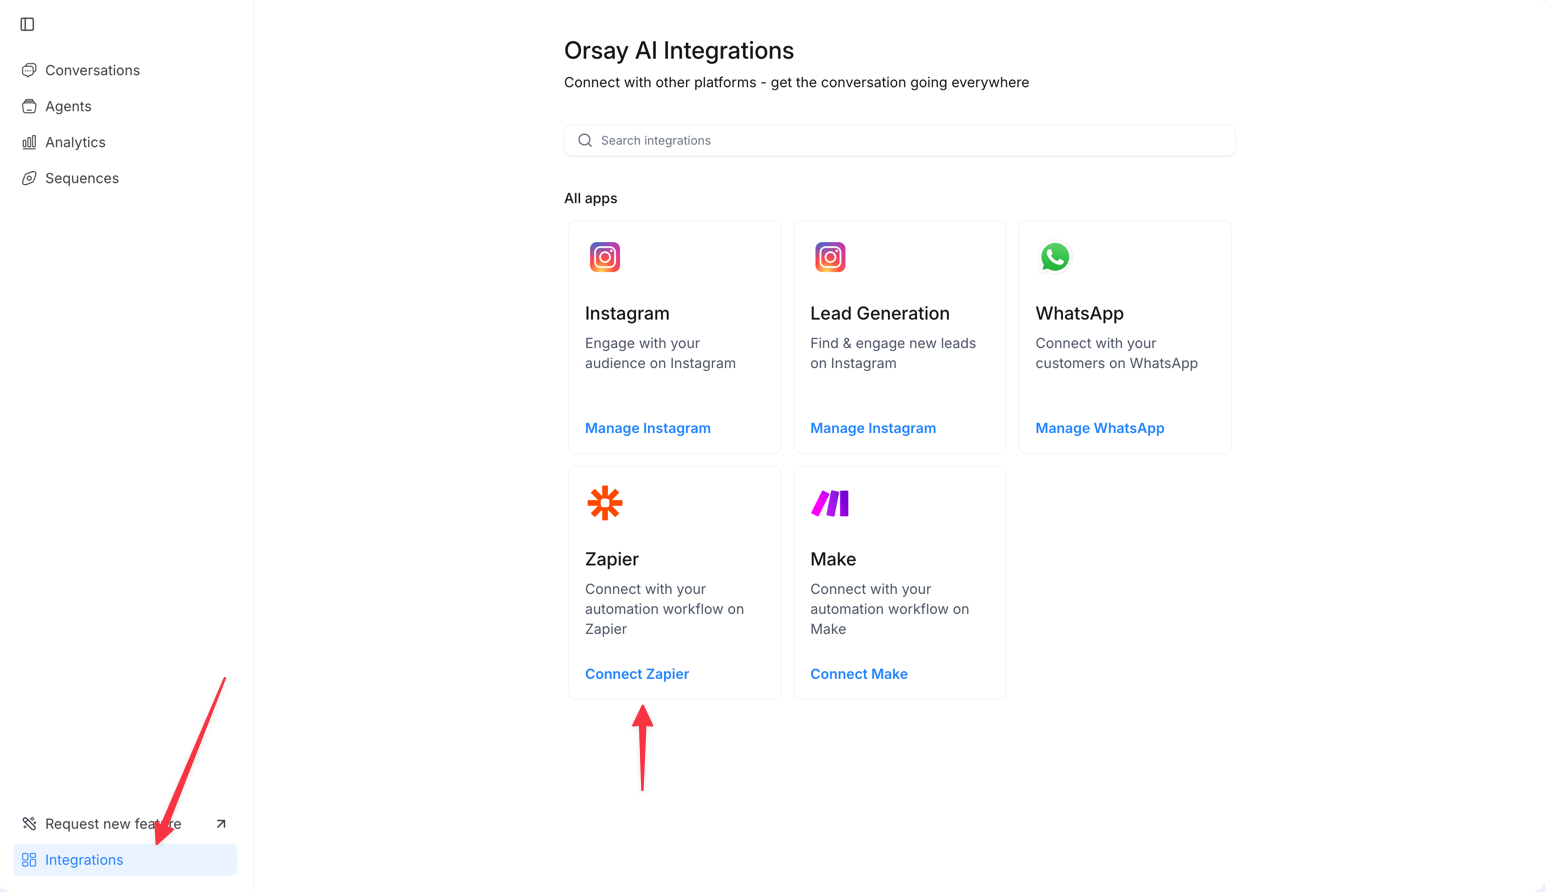
Step 5 — Connect Zapier to your lead source
If you get leads from external sources (Facebook Ads, landing pages, CRM, etc.), connect Zapier so every new lead automatically flows into your WhatsApp sequence.How to set it up
- Go to Integrations → click Connect Zapier
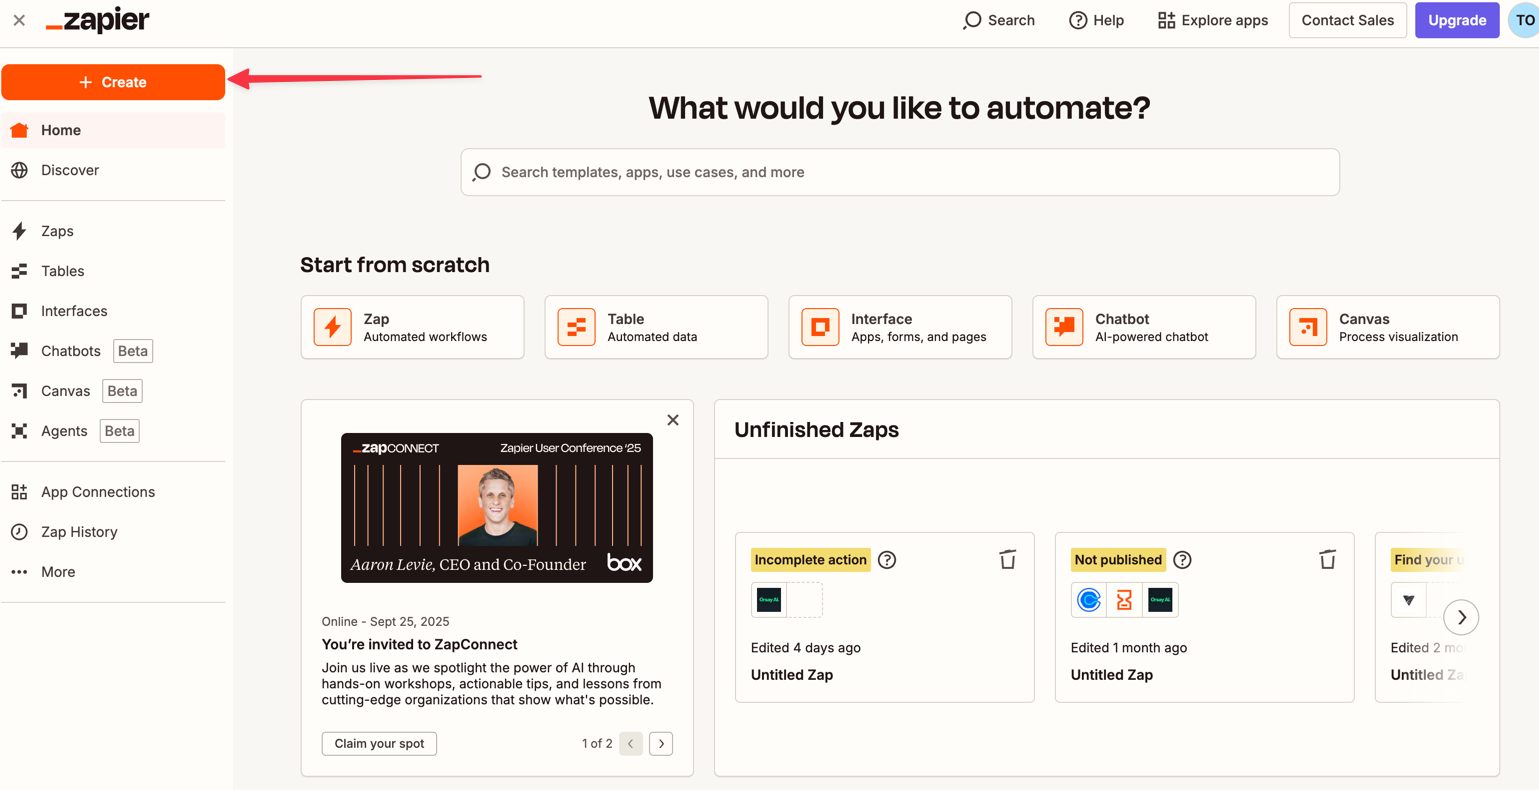
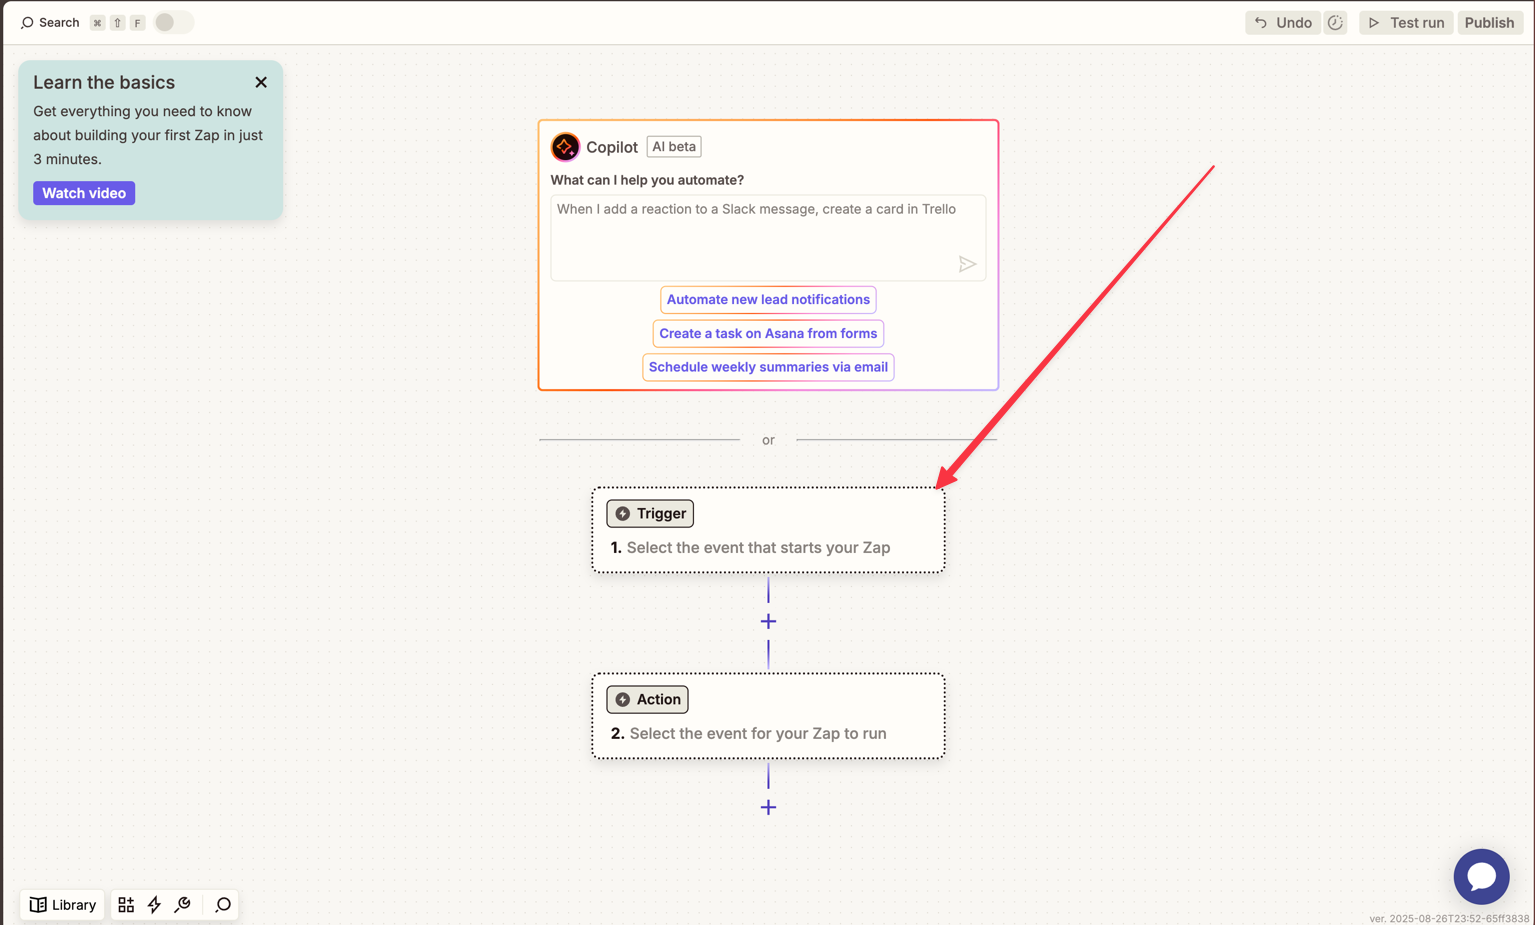
- In Zapier, click + Create to start a new Zap
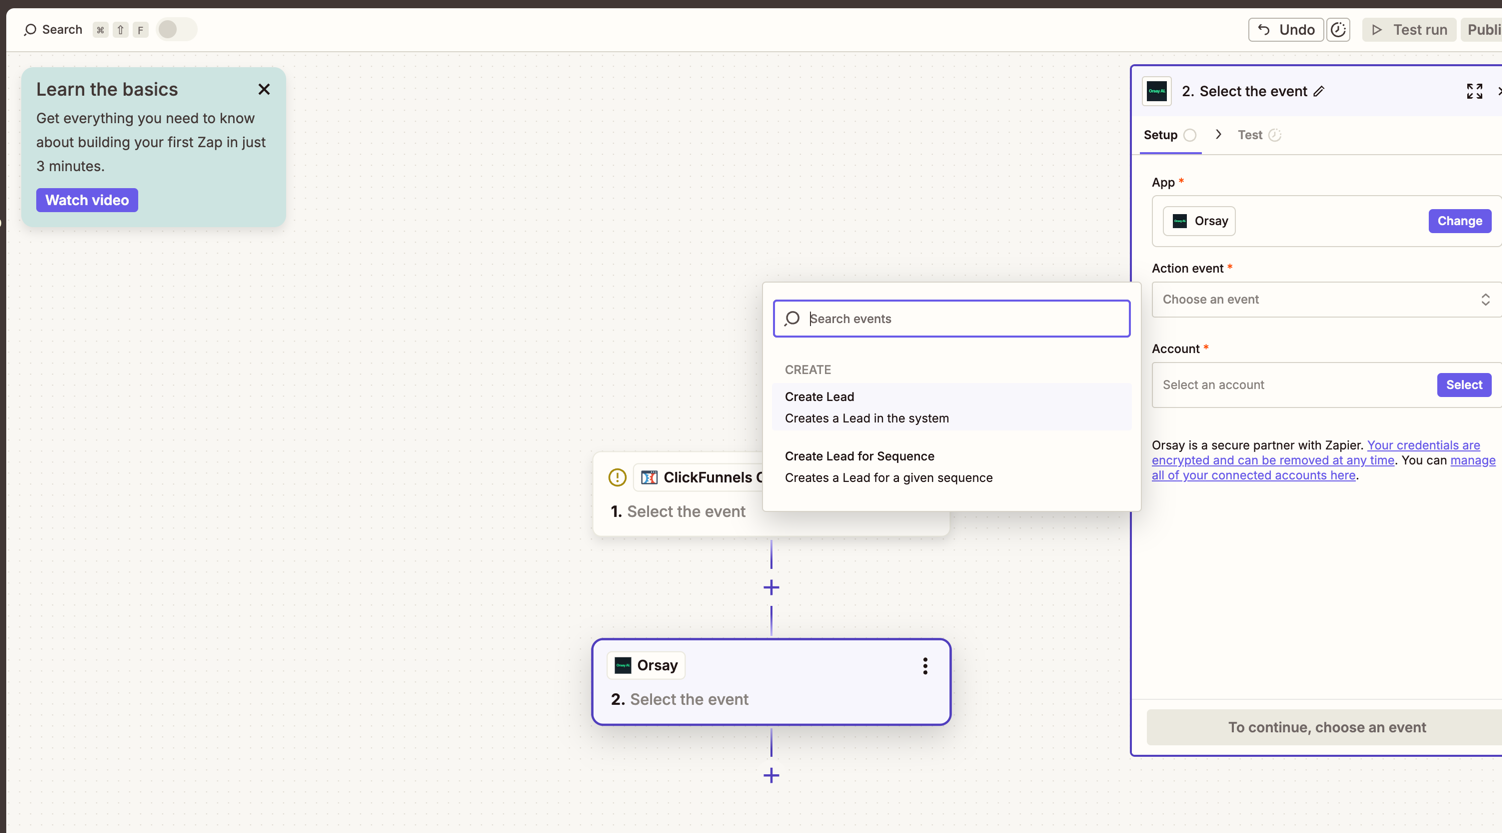
- Choose your lead source (Facebook Lead Ads, ClickFunnels, systeme.io, or any compatible platform)
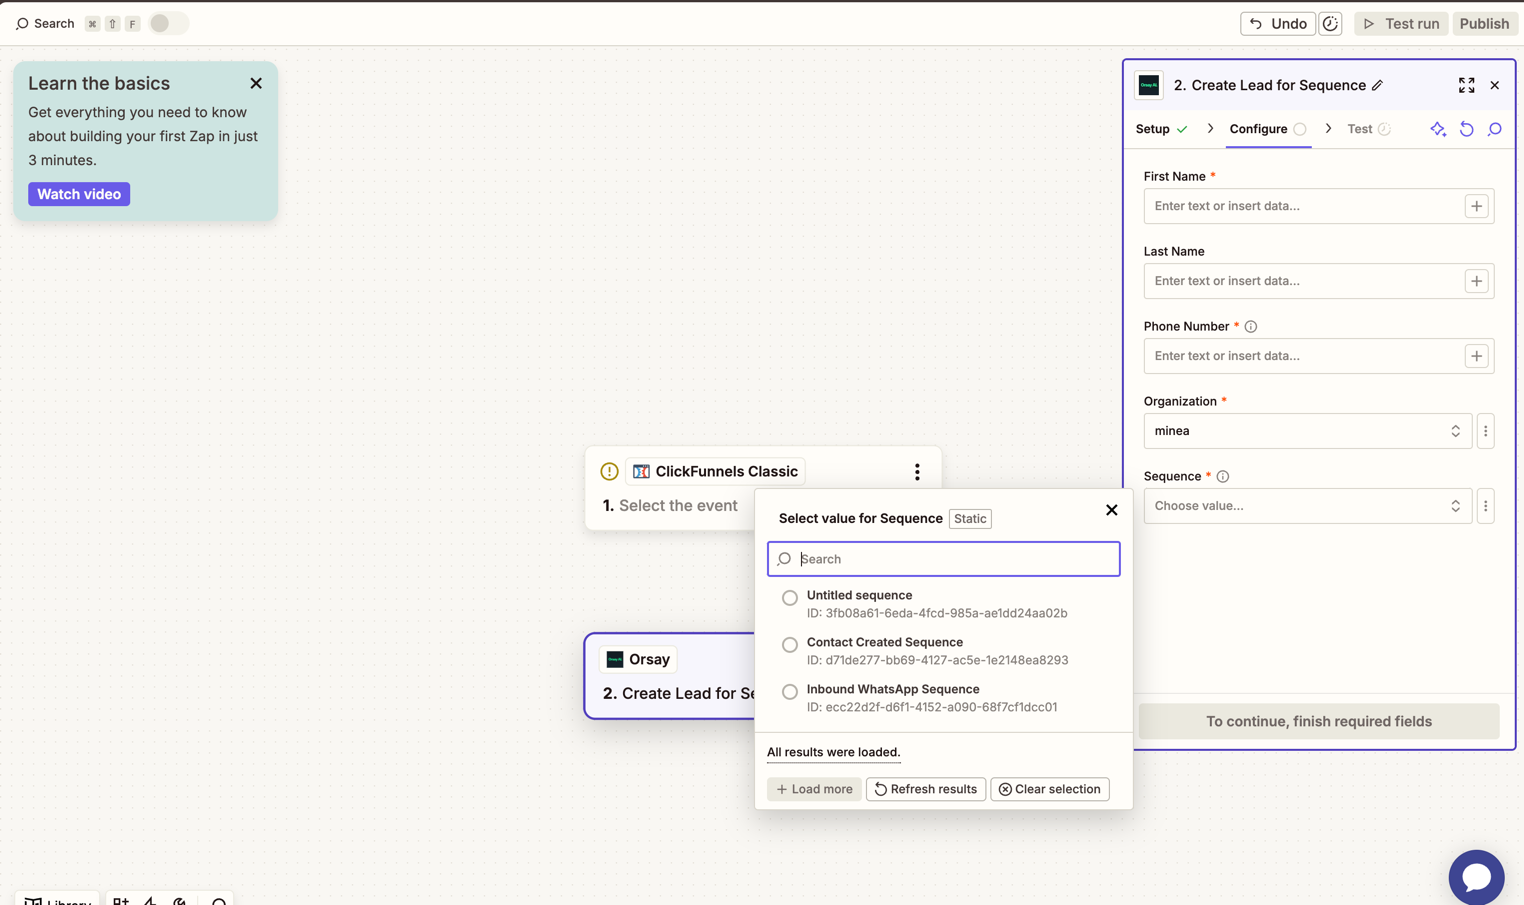
- Select Create Lead for Sequence as the Orsay action — this adds each lead directly into a specific sequence
- Map the fields: First Name, Last Name, Phone Number
- Select the relevant Organization and Sequence
You can find a sequence ID by clicking next to the sequence name in the Sequences page.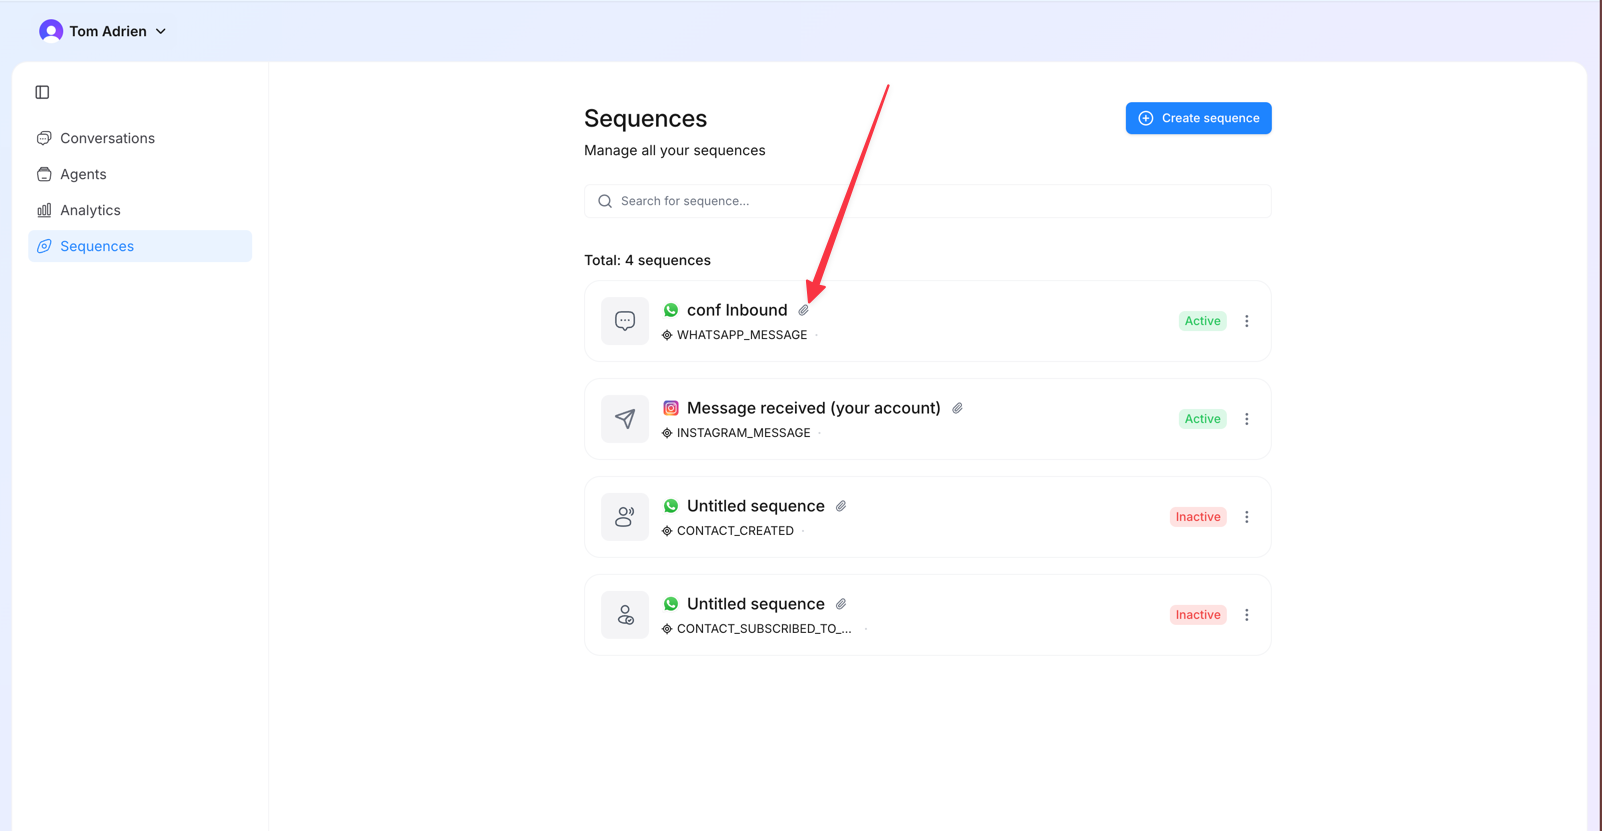
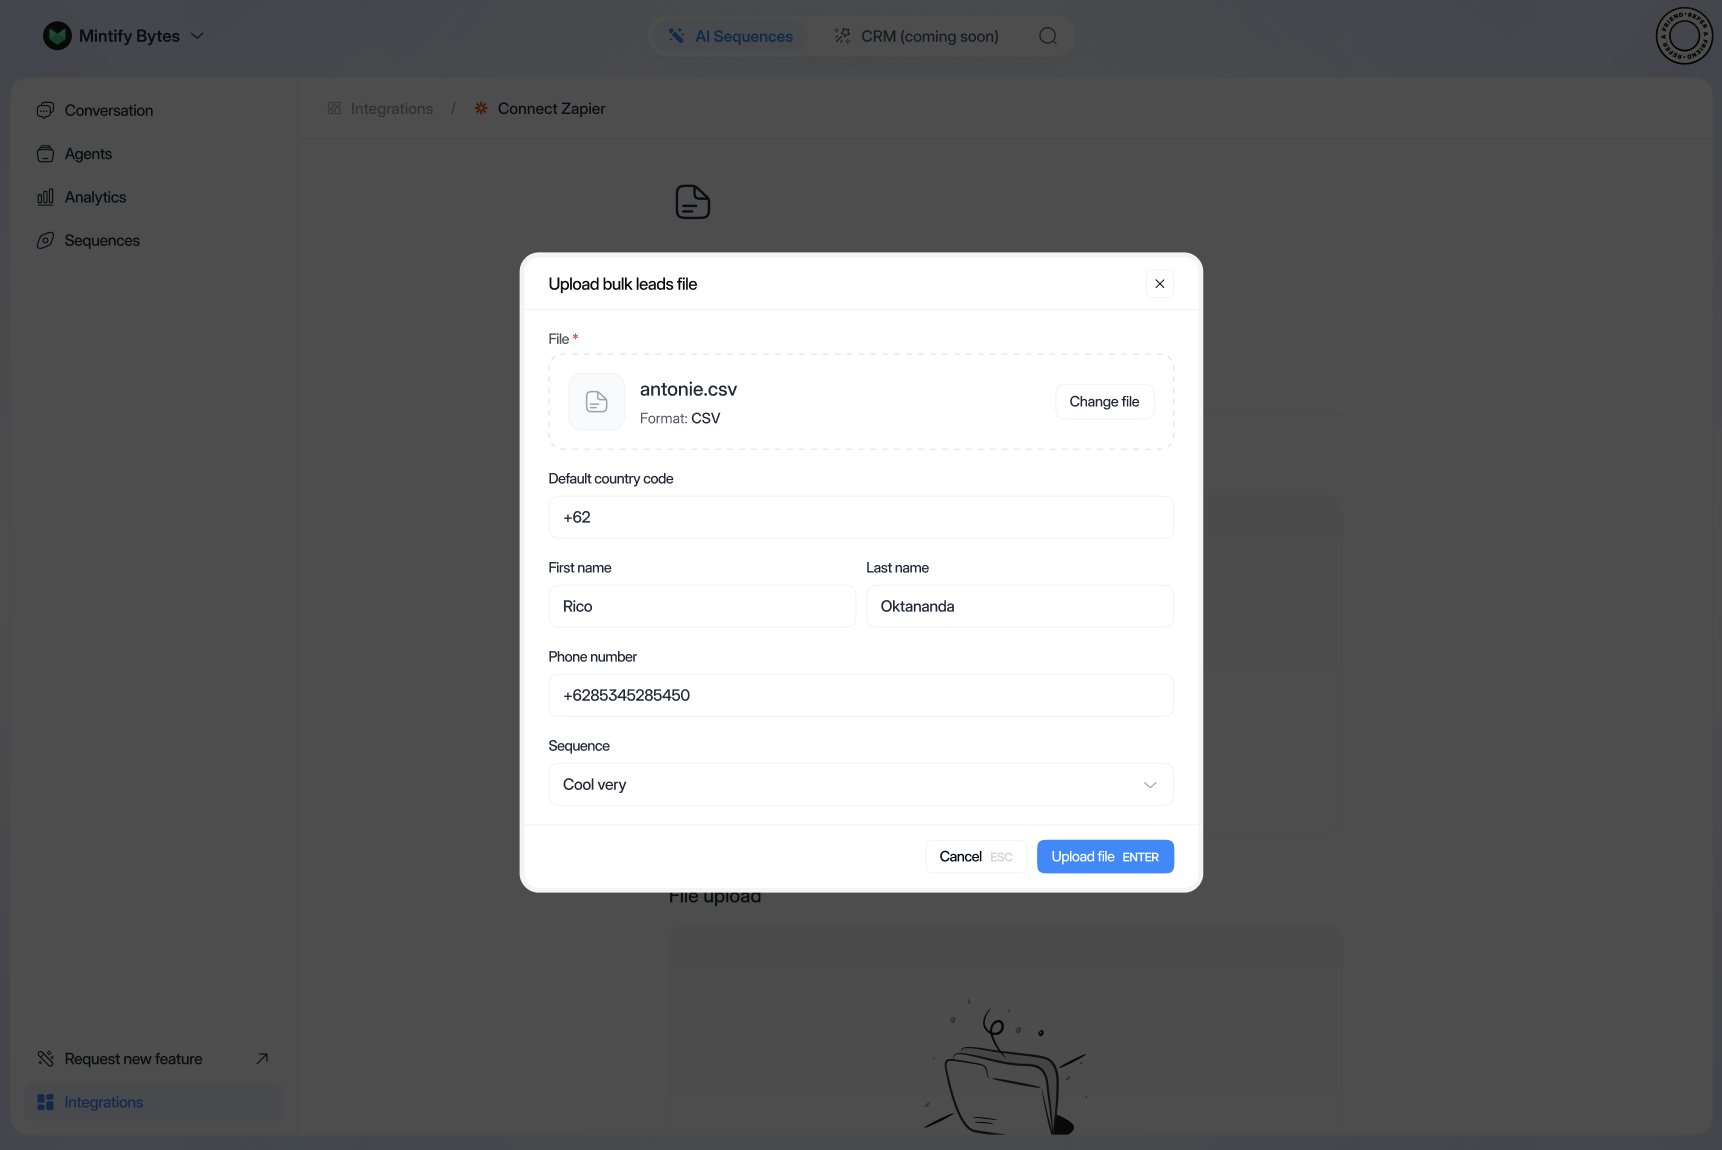
Step 6 (optional) — Send a bulk campaign via CSV
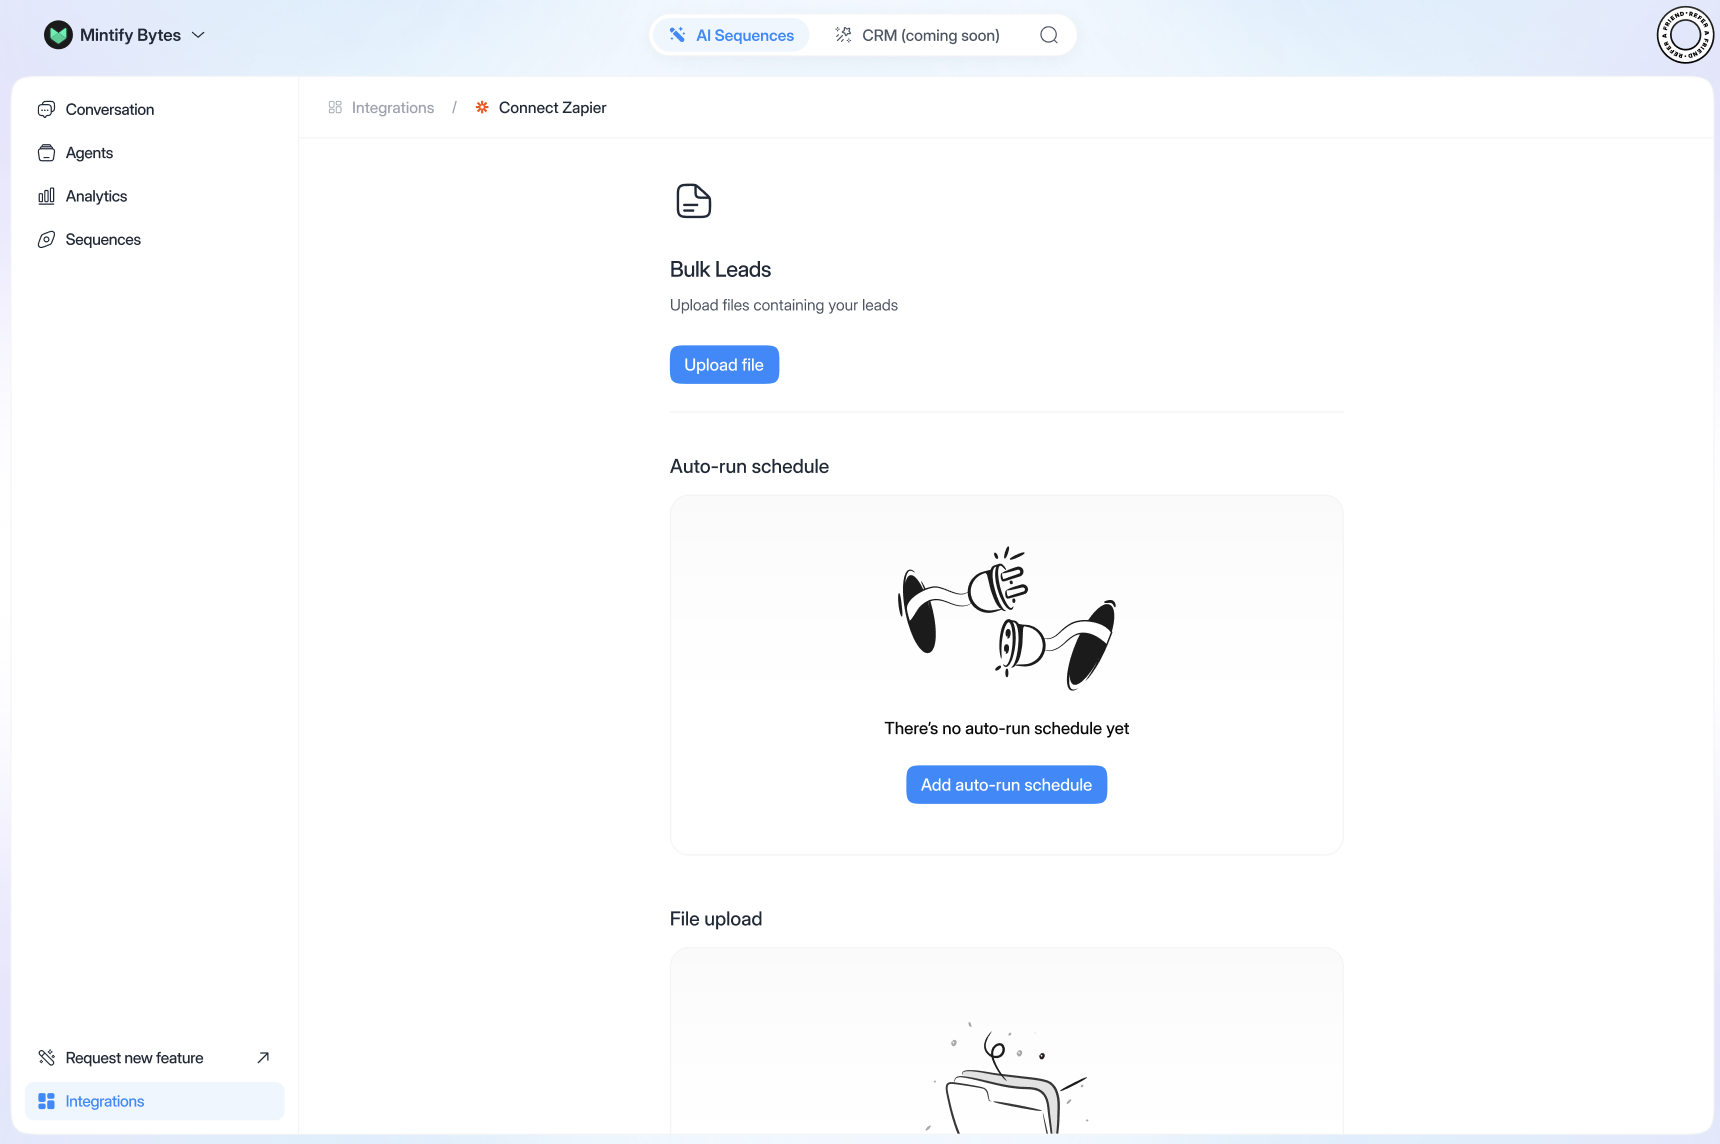
If you have an existing list of leads, you can upload them all at once:- Go to Integrations → click Bulk Leads → Upload Files
- Import your CSV file:
- Fill in the country (“France” if French)
- Map first name and phone number columns
- Select the right sequence
- Click Upload File
To upload a CSV, you need a sequence with trigger type
CONTACT_SUBSCRIBED_TO_SEQUENCE.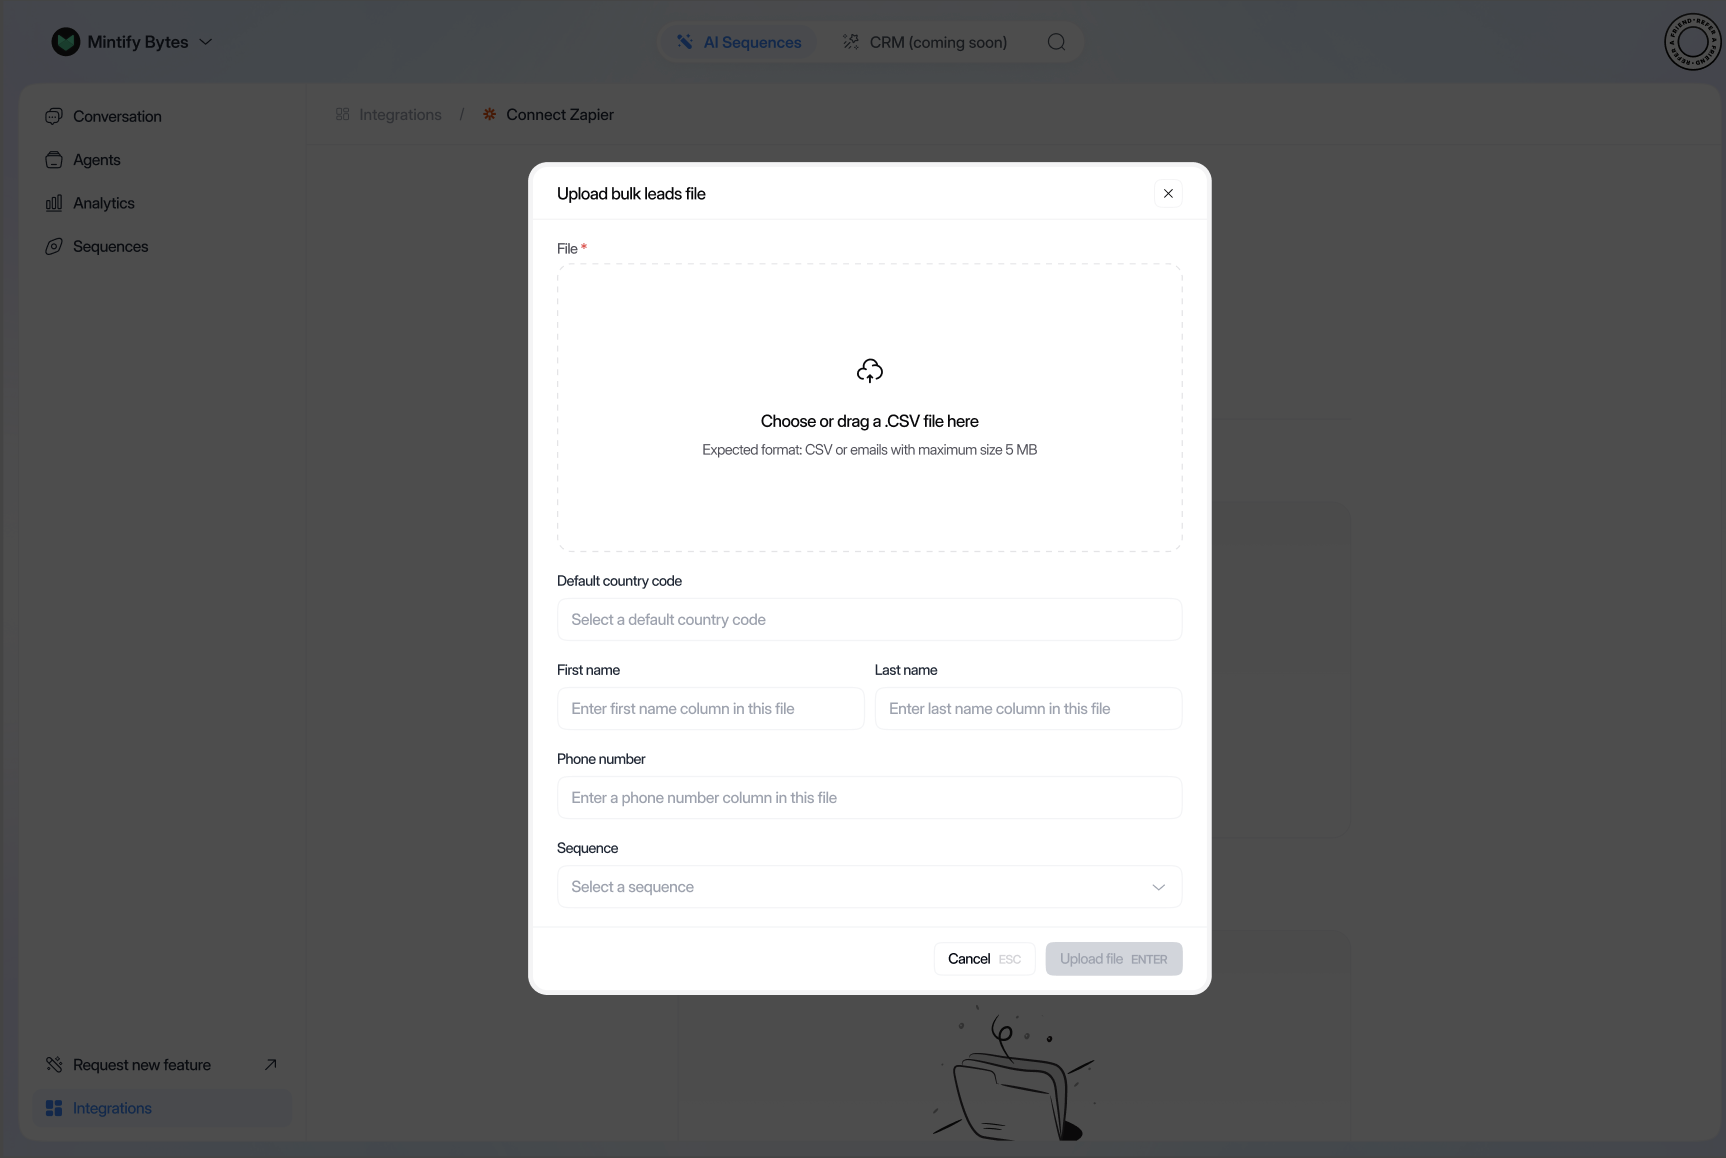
- Set up auto-run schedule:
- Select the upload sequence
- Set the number of leads to enter per batch
- Click Update Schedule
If you need help, Orsay’s support team is here for you! Reach out on WhatsApp for quick and personalized assistance.